Creating a virtual environment on a budget


One of my favourite things to do as a filmmaker is to look at large scale Hollywood productions and be like ‘Oh I bet I could do that… just cheaper… and smaller’.
Ever since watching the BTS of The Mandolorian, something I’ve wanted to have a go at doing is creating a virtual environment using LED screens.
Virtual environments are pretty exciting to me from a technical perspective and have some major benefits compared to shooting with a green screen. LEDs are natural sources of light so can give bounce back and produce natural reflections, and make the overall image feel more realistic, plus it saves a lot of time on rotoscoping.

To execute a virtual environment to the same scale as The Mondoloarian requires a massive budget, a whole 3D modelling team and 1326 LED screens. That just isn’t feasible for pretty much everyone, so I was determined to find a way to make things easier.
Here’s how I did it with the help of captured location footage, a small scale set and a very big TV.
How we came up with the idea
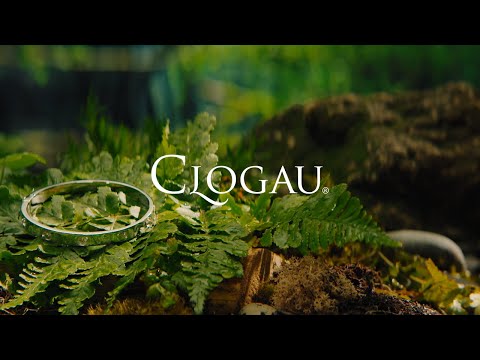
When shooting for our latest project with Clogau we were in a bit of a pickle. When we were brought onto the project, we were working towards a brief that promised detailed project shots of small delicate jewellery set amongst the Welsh landscape. For anyone who has tried to capture that kinda shot, you know that we’d be up for a pretty massive task.
And then it hit me… why does it need to be shot on location? If we captured the right footage, with some clever camera work we could film the products in a controlled environment and make it seem as if we were really there. So we did.
Our solution
This article is more of a general overview of how we did it, but for any of you technical nerds like me, I’ve also made a more detailed breakdown you can read it here.
The top-level idea is this:
- Shoot some background plates on location
- Create a matching environment in a studio
- Play the captured footage in the background
- Trick everyone
Now strictly speaking this isn’t a virtual environment in the purest sense. Unlike ‘true’ virtual environments, you can’t switch things up with the press of a button, you’re confined to the footage you get… so it has to be good.
Tips for capturing background footage for virtual environments
To create the most realistic image you can, when filming your virtual environment you’re going to need to use anamorphic lenses. Anamorphic lenses are flawed by design and squeeze a wider field of view into a regular 35mm frame causes all sorts of strange things to happen: Barrel distortion, oval bokeh, losing sharpness at the edges and of course that horizontal flare… all the good stuff.

The good thing about this is that the lenses don’t discriminate – they distort everything put in front of them, virtual or not. It’s this distortion that is crucial in blending the foreground and background elements later on when in the studio but you don’t want to double up on this effect. So, when you’re capturing your background footage use a spherical lens.
When you are ready to film the background plate of footage, it’s all about making it easier for setting up your shot once you’re in the studio. Here’s what I found worked for us:
- Film in 4K. It gives you the flexibility to move the background around and rescale it to fit without losing resolution.
- Avoid harsh lights and direct sunlight. The contrast ratio of your screen is likely going to be too low to emulate sunlight, so avoid it in the footage. Plus a side-light will give you an extra cinematic feel.
- Look for natural lines and points of interest. These can act as guiding points to work with when back in the studio and help you create a seamless transition between your foreground and background.
- Use an SFX orb (or any other HDRI capture technique) on set. It makes setting up the lighting of your virtual environment a lot easier, trust me.
Tips for filming your ‘Virtual Environment’


I think it’s important to remember that more likely than not, you’re going to be working with a commercial TV. Some projects may have the budget for a top of the line screen, but for most projects, you’re likely working with something that wasn’t built with creating virtual environments in mind.
Therefore you will have to go in and adapt the settings to something custom to make it work:
- Change the FPS setting to match your footage. For us that meant switching down to 25FPS, this will help with any flicker issues.
- Change your gamma/gamut settings from the HDR standard. This limits the possibility of any wacky edge of gamut colour issues that can occur when a screen tries to reach a value it isn’t quite able to. We chose REC709, which is what you’ll also want to transform your LOG footage into to give a base colour profile to match.
Once your TV is ready ago, go ahead and map out the lighting to match your background footage using the HDRI captured you captured on location and set up your scene. This technique works best for shooting in a shallow depth of field so set up your subject close to the camera with enough distance between the lens and the screen to avoid any of those pesky Moiré patterns.
So that’s it. Well, a very quick overview of it anyway. Happy filming!
If you give it a go or have any questions give me a shout. I’d love to chat.
