RED Monstro x IPP2 — First Impressions

About a month ago, I was at a large-format open day that Video Europe held at their Bristol house.
The lineup was littered with new offerings from ARRI (LF), Sony (Venice) and RED with their new 8K VV Monstro sensor.
Both the Sony and the RED had me excited, as they were both offering completely new sensors.
Sorry ARRI, I’m sure the Alexa LF has the same great image as the Alexa—in fact, I’m sure of it because you’ve literally just glued two ALEV IIIs together so that Netflix will let you back into their club.
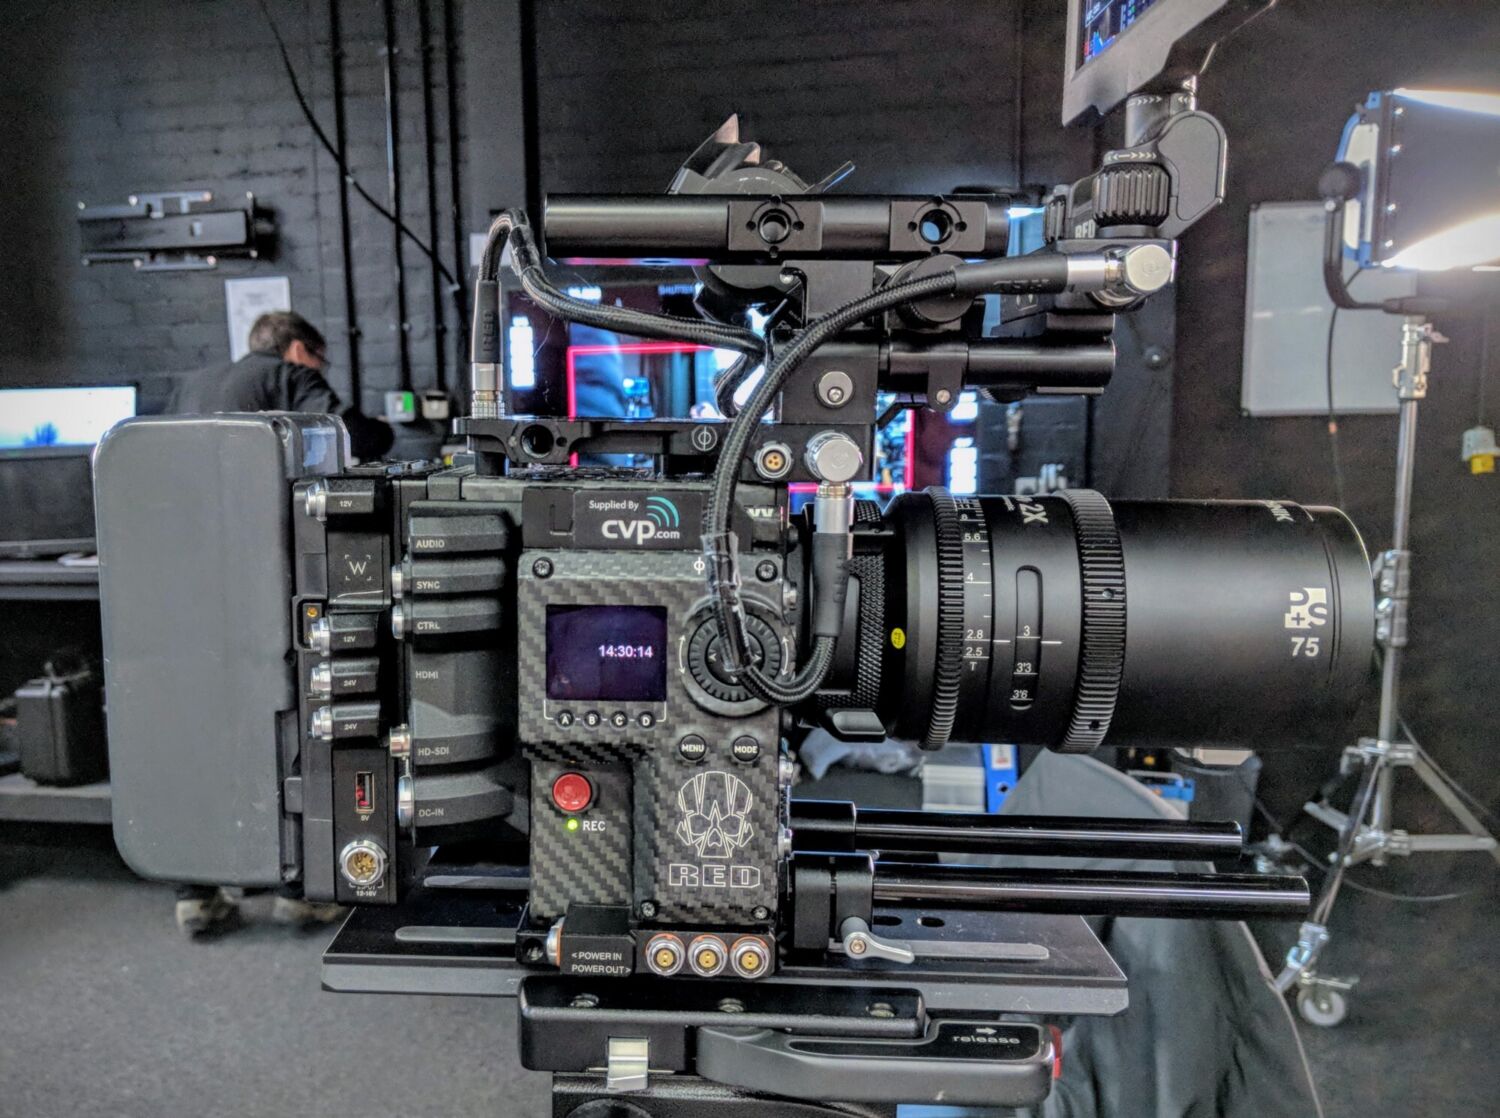
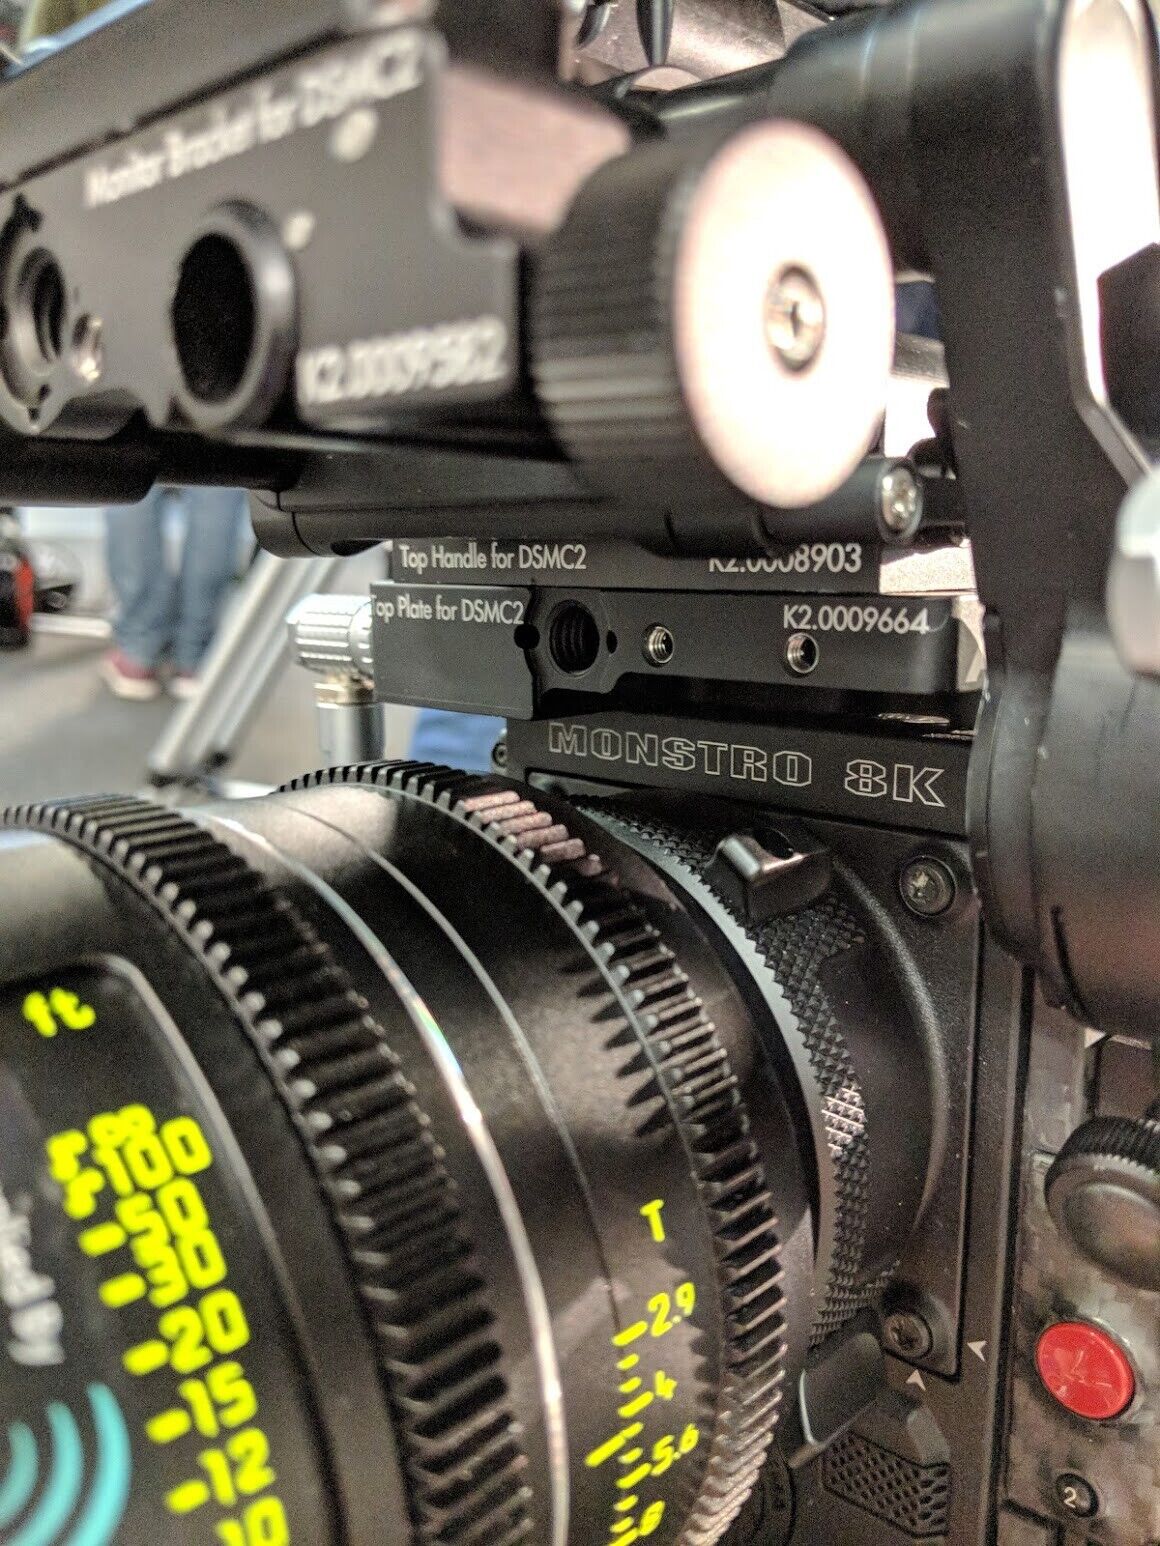
As I was saying, the Venice comes with an all-new FF 6K sensor, and RED’s offering is a 40.96 mm x 21.60mm, 35.4MP, 8K behemoth.
Is it just me, or is this whole ‘Full Frame, Large Format, Medium Format’ thing getting rather confusing?
Whilst I’m very keen to shoot on the Venice in the near future, the model I looked at in VE needed at least one or two more firmware updates to unlock its true potential.
Supposedly they’ll be unlocking the camera’s dual-native ISO functionality soon.
The reason that the Monstro had me frothing at the gills was twofold.
Firstly, the sensor is bloody huge, which means great sensitivity and super-shallow depth of field.
Taking a 6:5 crop of a sensor that big for anamorphic lenses means that you actually get to see all of the characteristics of the lenses, which are usually lost when shooting with smaller sensors.
The second reason was that it could be combined with RED’s new IPP2 colour pipeline.
RED claims that IPP2 improves colour accuracy greatly, improves highlight roll-off (through clever metadata) and provides standardised colour spaces for the HDR future of filmmaking.
A further feature (one that greatly interested me and my neon tube fetish) was improved “edge of gamut” colours.
Have you ever tried to shoot neon tubes or car brake lights and found that you get a bit of red, but mostly some bright orange-yellow solid blocks of colour towards the centre of the light source?
That’s because it can be very difficult for a camera to debayer and map intense, saturated colours into a limited colour space.
This is a problem often seen on DSLRs and even some higher-end cameras.
RED’s most recent sensor trilogy (Gemini, Helium, Monstro)—paired with IPP2—is supposed to be tremendously well-equipped to capture ample saturation info, making challenging colours more attainable.
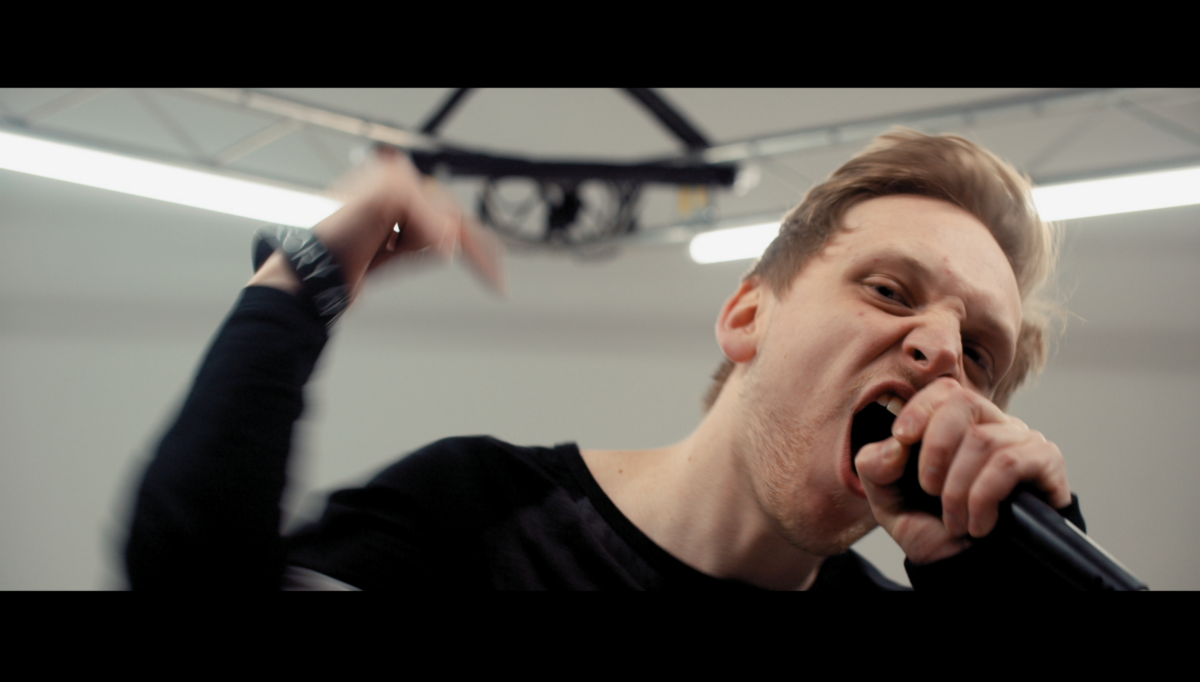
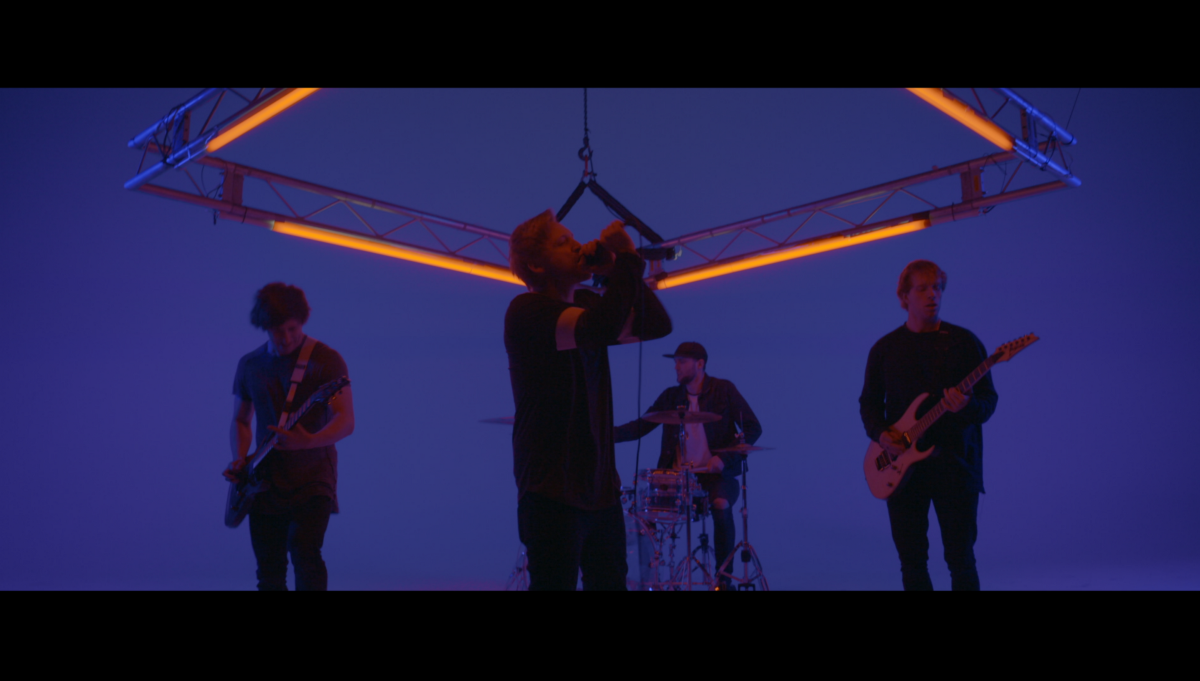
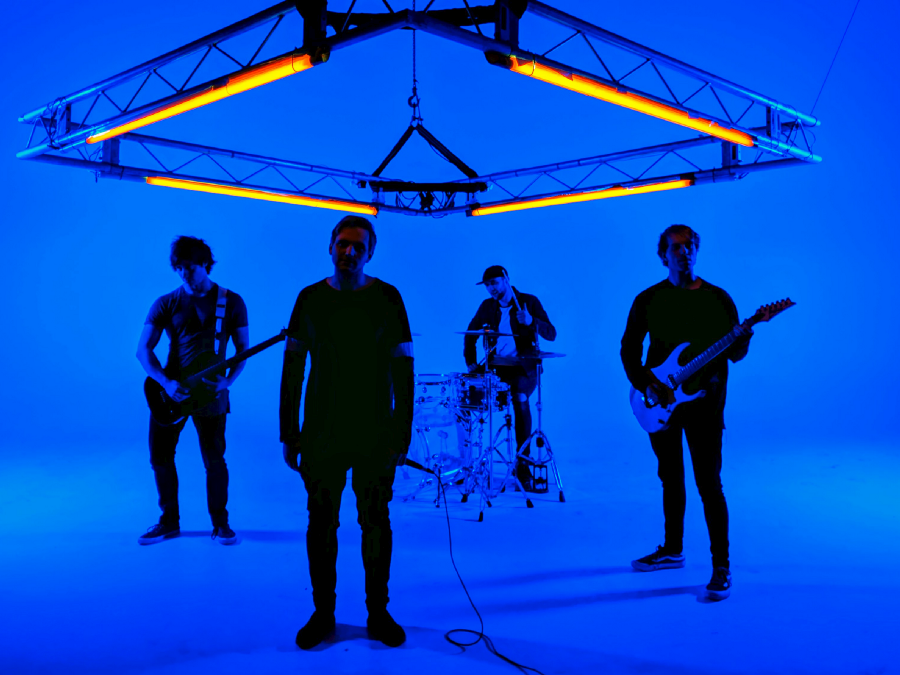
As it happened, I had a music video pencilled in for a metalcore band who were after something very colourful, so with some gentle ear twisting, VE kindly lent me the Monstro for a day.
On-Set Impressions
Since the DSMC2 brains came in, RED seem to have gotten their shit together and made an acceptably reliable camera system.
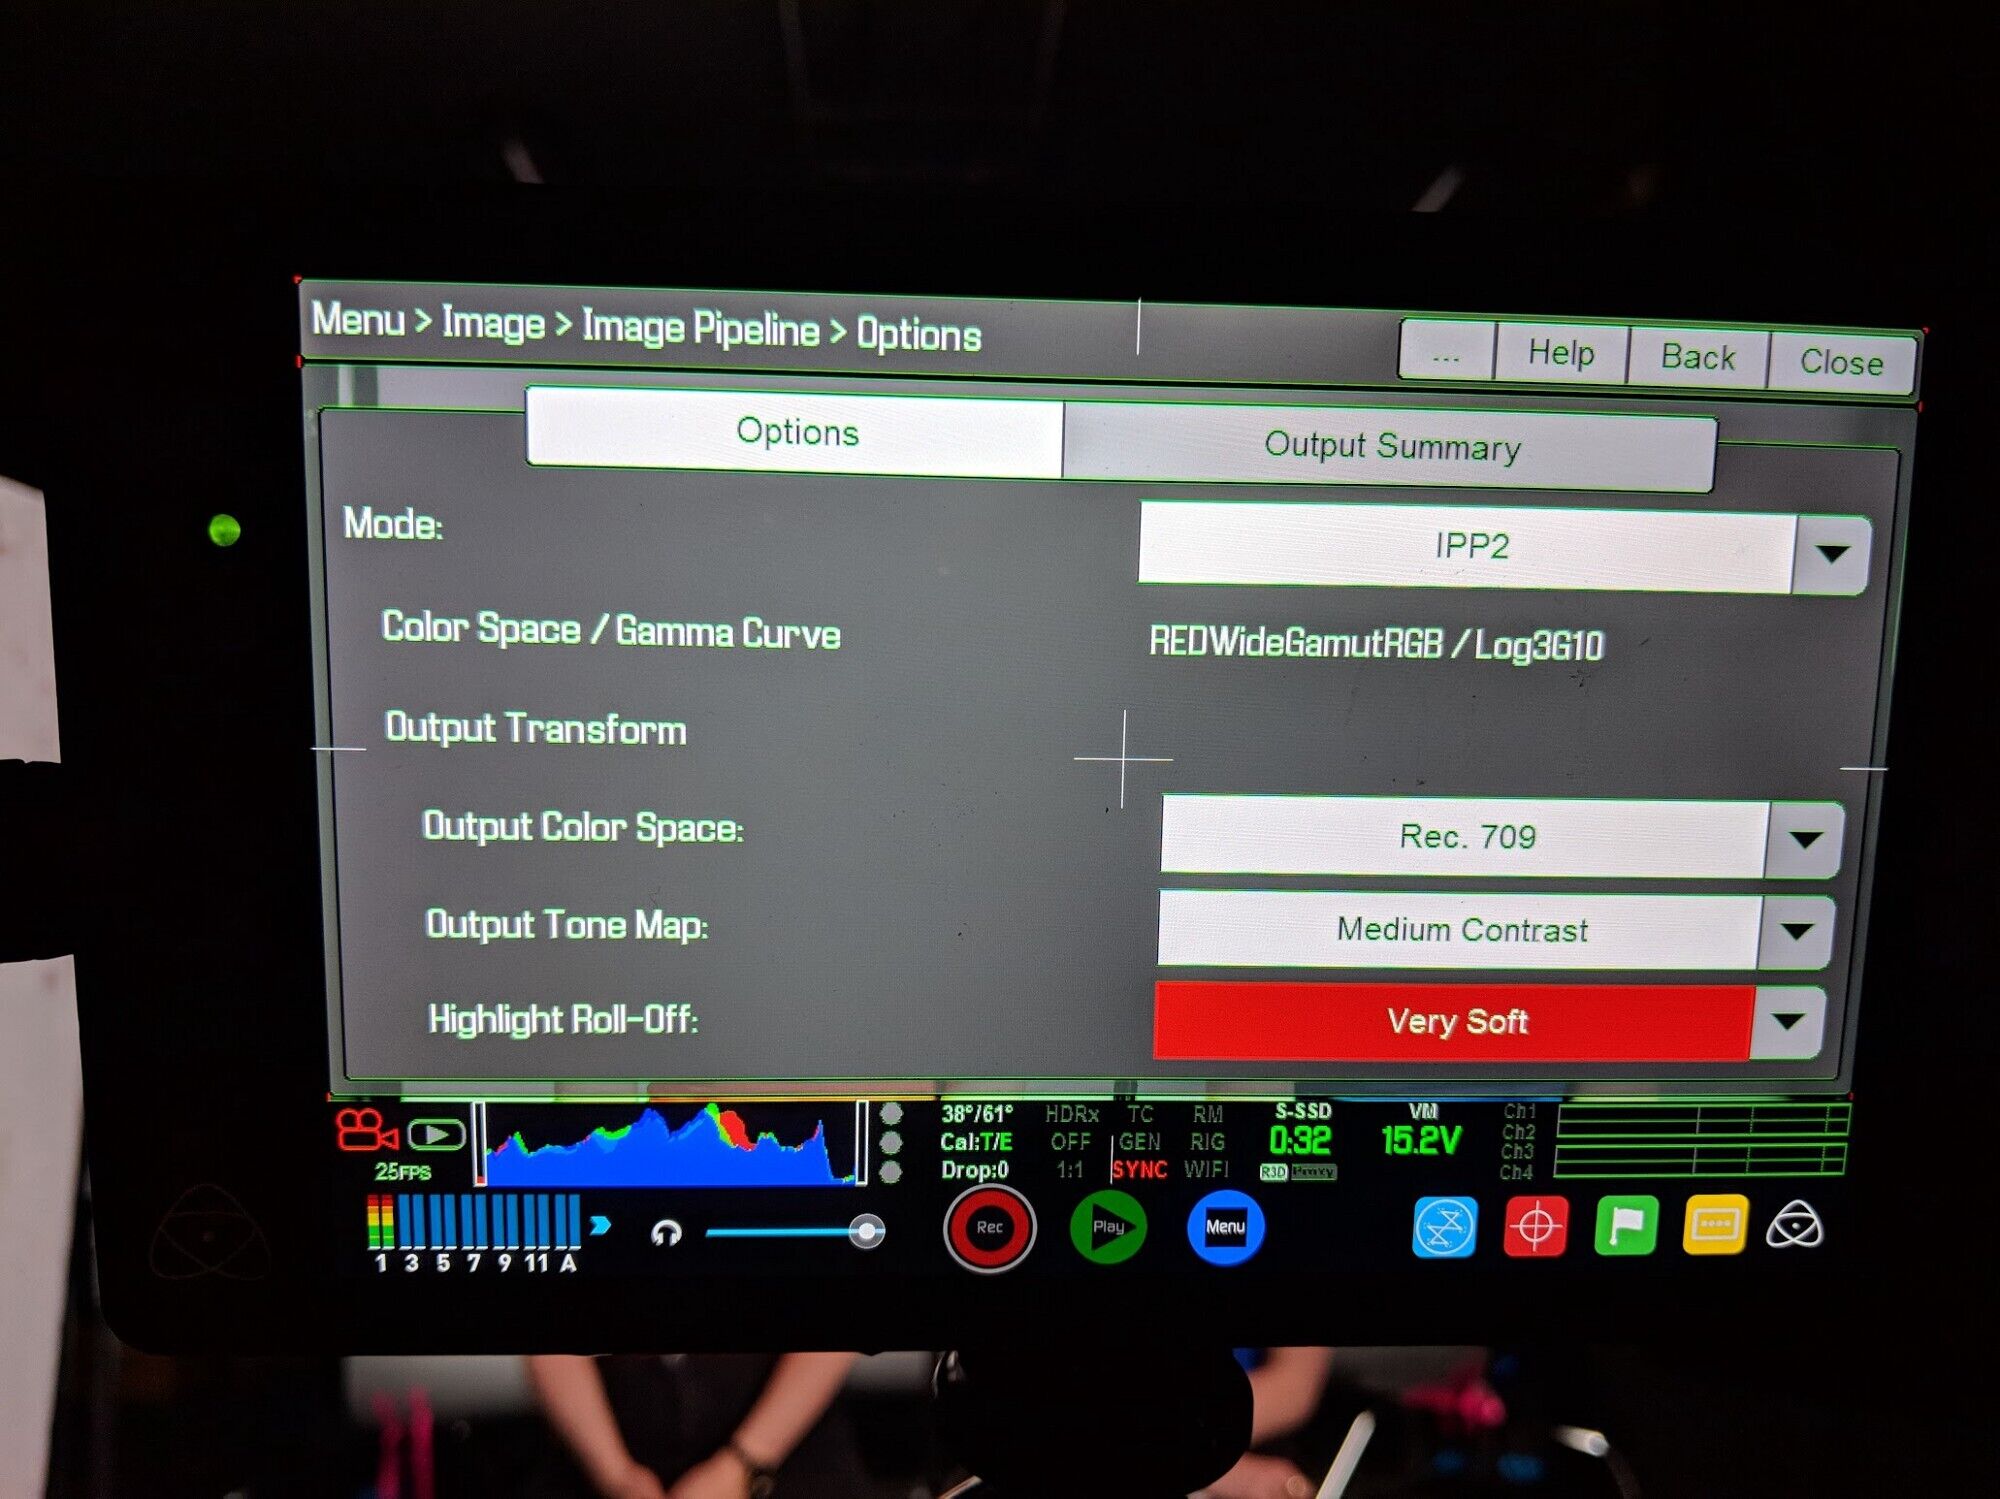
The latest firmware version made navigating the menu system a painless experience, and the simplification of IPP2’s colour pipeline made setting up the workflow a doddle.
Another neat feature of IPP2 is the ability to select how soft you’d like your highlight roll-off.
Unlike the practical OLPF in front of the sensor (I always opt for the ‘Skin Tone-Highlight’ version), IPP2’s options are purely metadata-manipulation based, however, this is still useful for saving time later on when it comes to grading.
Despite my urges to select the “very soft” option, I opted for “soft”, as I was going to be shooting some very punchy colours and didn’t want to water them down too much.
I opted to shoot in 6:1 RAW and to shoot a ProRes 422LT Proxy simultaneously to reduce the amount of steam coming from my ears during the offline assembly edit.
As my budget was limited, I borrowed the EF-mount version of the Monstro and, with some trepidation, relied on the Samyang cine primes to get the job done.
I knew that they covered the a7S’ sensor, and much to my surprise, they covered the Monstro’s too. Phew.
The shoot was lit by a couple of ARRI S120-C SkyPanels and fluro tube truss rig.
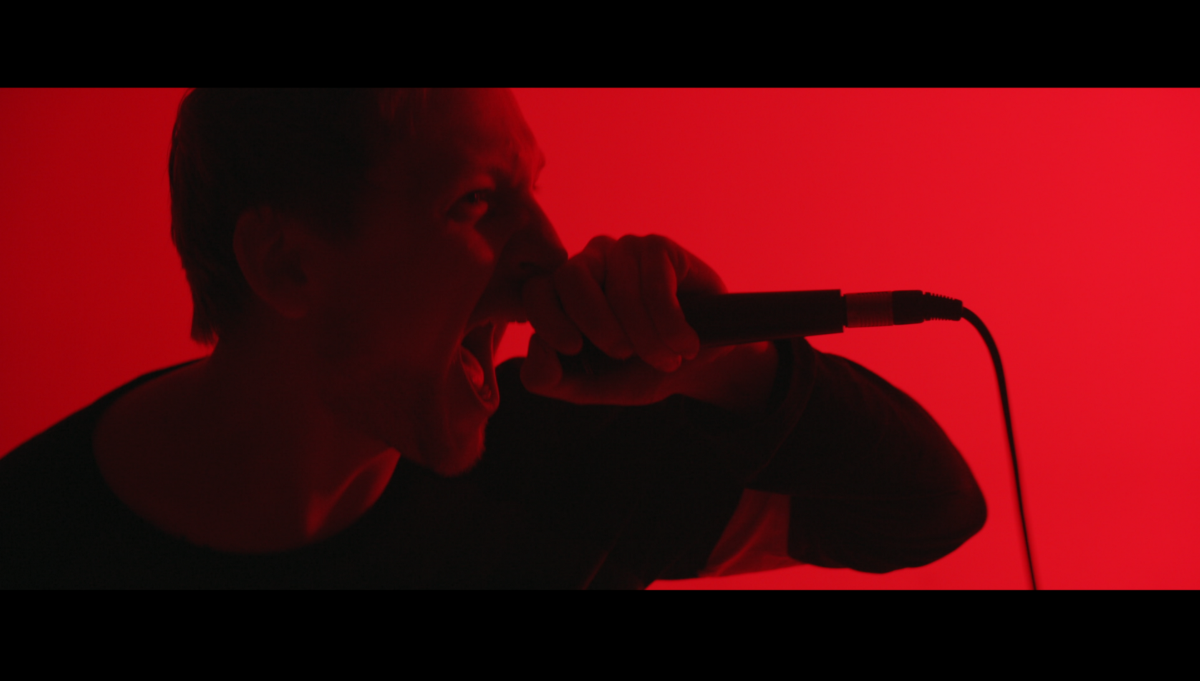
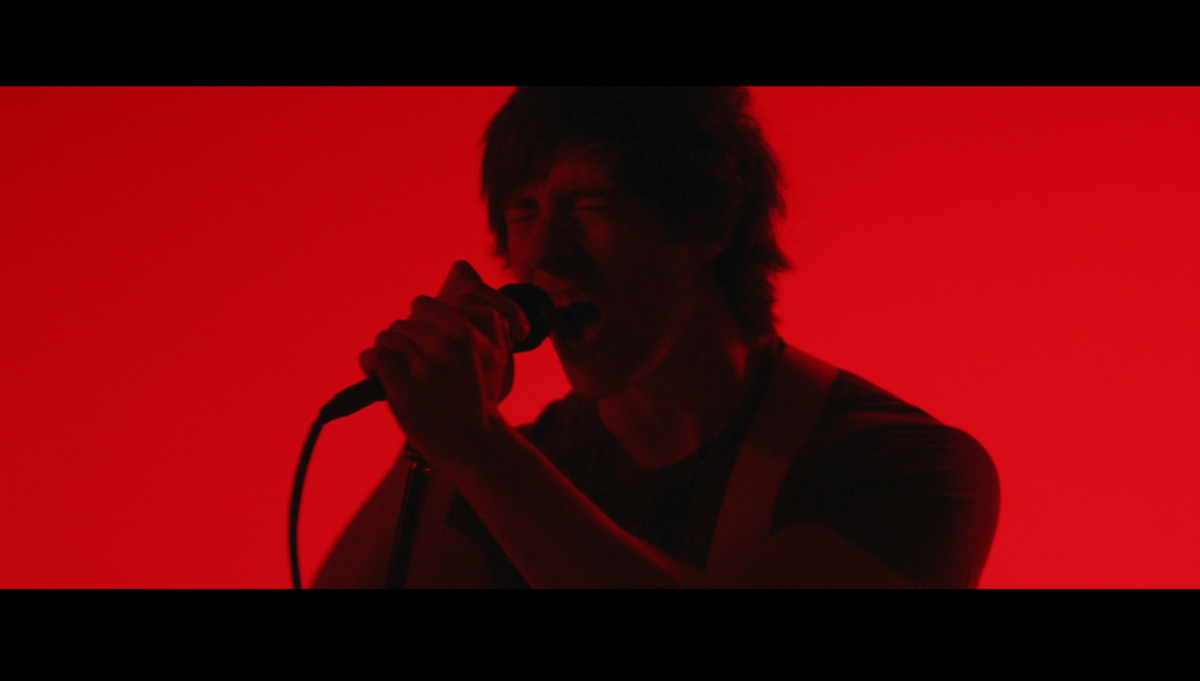
The SkyPanels were basically blasting the back wall with some really saturated colours in pulsed intervals, and the tubes created colour contrast.
If IPP2 was going to make good on its promises, there was no better time.
I’d like to say to say that the RED didn’t misbehave at all during the day, but sadly it did let itself down once.

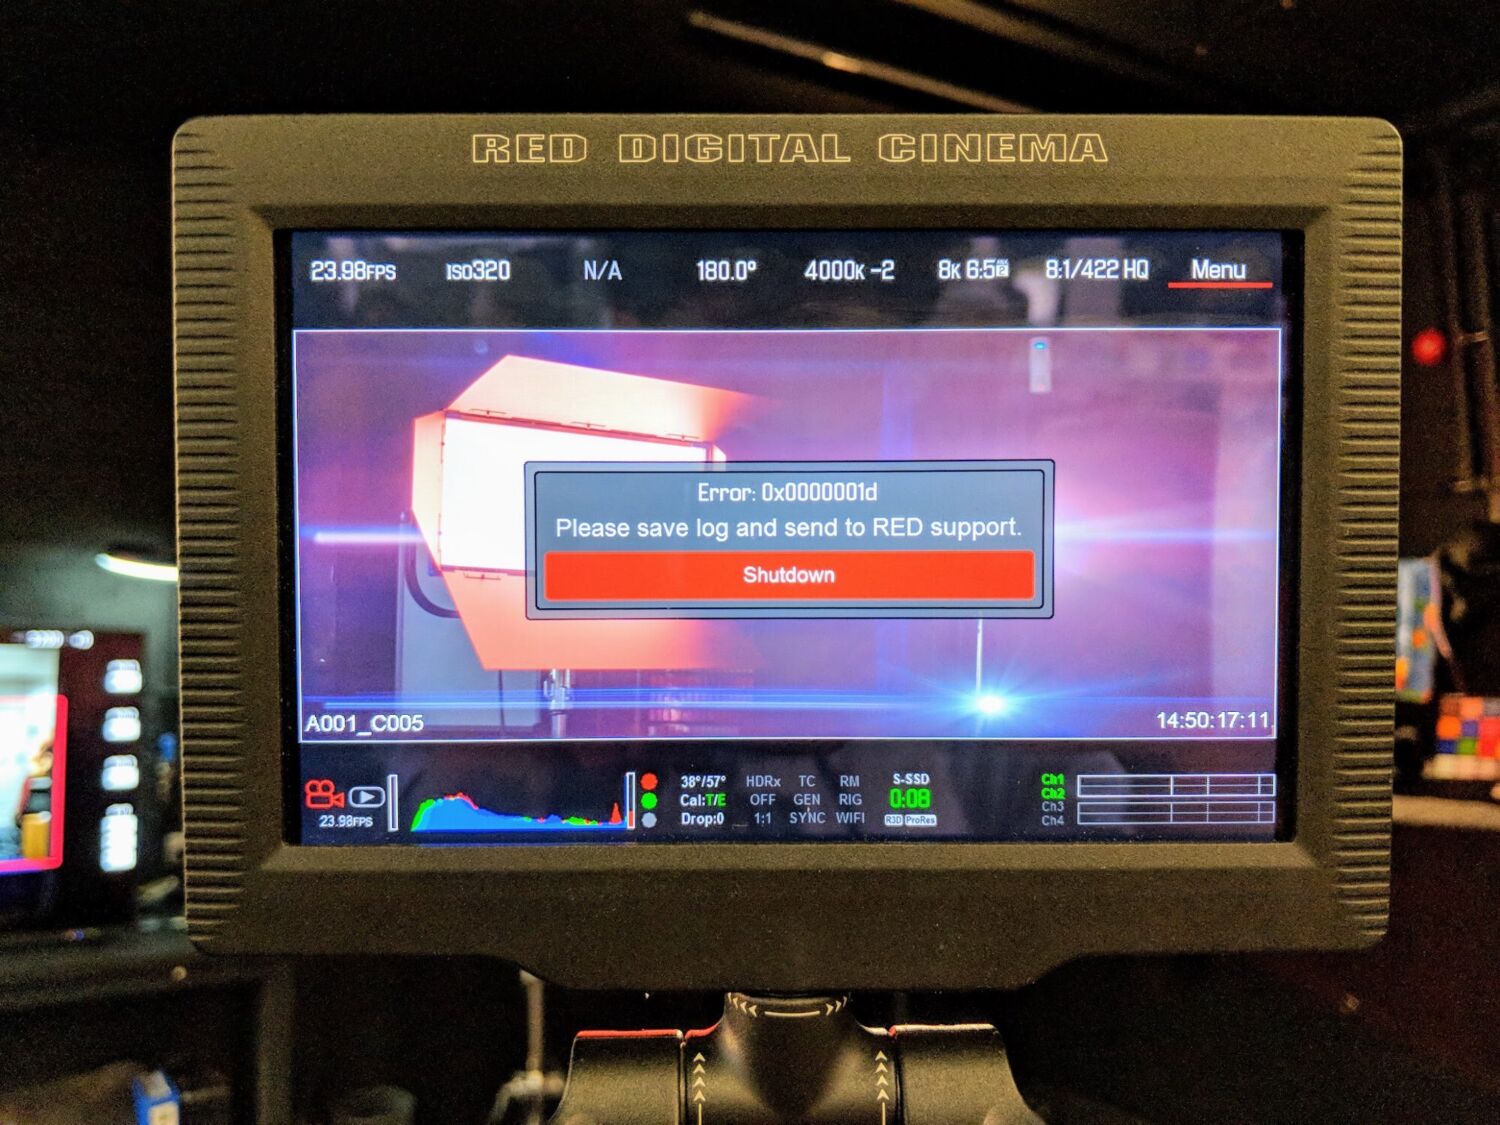
After about our fifth consecutive full-song run through, the camera decided to throw up an error message and demanded that it go to sleep (hypocritically, something my body does regularly, too).
It’s worth noting that at this moment in time I’d never experienced such heat being produced by a sensor, which I imagined was down to shooting 8K RAW continuously for half an hour.
Still, the fans on the unit should have been adequate.
Nevertheless, once I’d changed cards (and my underwear) we continued on and the unit behaved perfectly for the rest of the afternoon.
The pictures from the camera looked great in the monitors, and to my pleasant surprise, the saturation issues that IPP2 claimed to fix indeed seemed non-existent.
Hooray!
Post Production
As I mentioned, I shot a 2K ProRes LT proxy for the offline, although I must say that I was extremely impressed with just how good the ProRes was.
For shorter turn-around projects I would definitely be comfortable with using it as the proprietary codec (albeit the 422 HQ or 4444 flavours).
You also get a nice noise gate when you shoot ProRes, so you don’t have to do as much noise reduction in post, which again saves time.
Shooting in 8K obviously has its benefits, such as cropping in and reframing, and using that as a ‘300’ style effect worked really effectively for this project.
You’re limited to 4K with ProRes, but boy is it a sharp 4K.
The 8K RAW was as you can imagine, very malleable in the grade.
It was also considerably cleaner than the Dragon’s 6K images, which required a lot of noise reduction. It does require a lot more CPU and GPU power, however, so unless you’ve built a monster editing machine, don’t expect smooth playback.
I’d recommend working with the ProRes proxy right up until the grade. Usually, when I grade, I use a LUT as a starting point because I’m coming into it with a log gamut.
This time, as I was using IPP2, I decided to see what it was like to work with from scratch. With some simple curve and saturation adjustments, I was able to get close to my ideal look, and for a lot of projects that would have been enough.
For this project, I ended up keying specific colours and boosting them further, and even changing their hue.
This is something that definitely would not have worked if the camera was less equipped to deal with intense and challenging colours.
Overall, RED’s premium offering certainly lived up to expectations.
The Monstro is truly a powerhouse of a camera. IPP2 is definitely worth familiarising with—it really does improve the speed and ease of the production pipeline.
Hopefully, in the near future, I’ll get a chance to slap some anamorphics on the camera. In the meantime, check out the video below!

