Anamorphic to Anamorfake — How To Blag That Bokehlicious Filmic Look

For me, the Anamorphic ‘look’ has always been the true filmmaker’s calling card.
Despite being born in a decade that saw anything analogue become superfluous, films shot with anamorphic lenses still managed to burrow their way into my subconscious, implanting their flarey, bokehlicious aesthetics into my nappy-stuffing toddler brain.
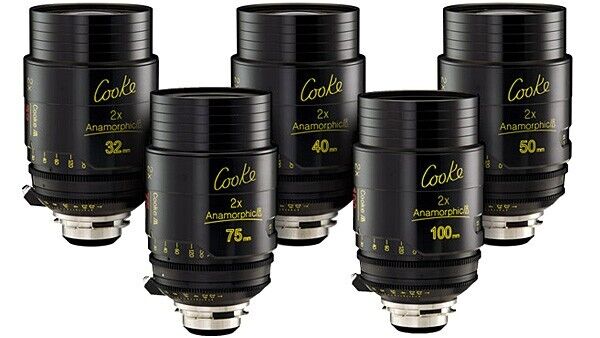
Of course, at such a tender age, there was no way that I’d have been able to describe the characteristics of an anamorphic lens. In fact (and I’m fairly ashamed to say this) it wasn’t until I reached a university level of education that the penny finally dropped and I realised that the large majority of my favourite films, aside from being directed by Tarantino or Nolan, were shot on anamorphic lenses. But what was it about these lenses that stuck in my prepubescent mind for all those years? I’ve been doing some thinking (and a bit of nerdy research) and I think I’ve cracked it.
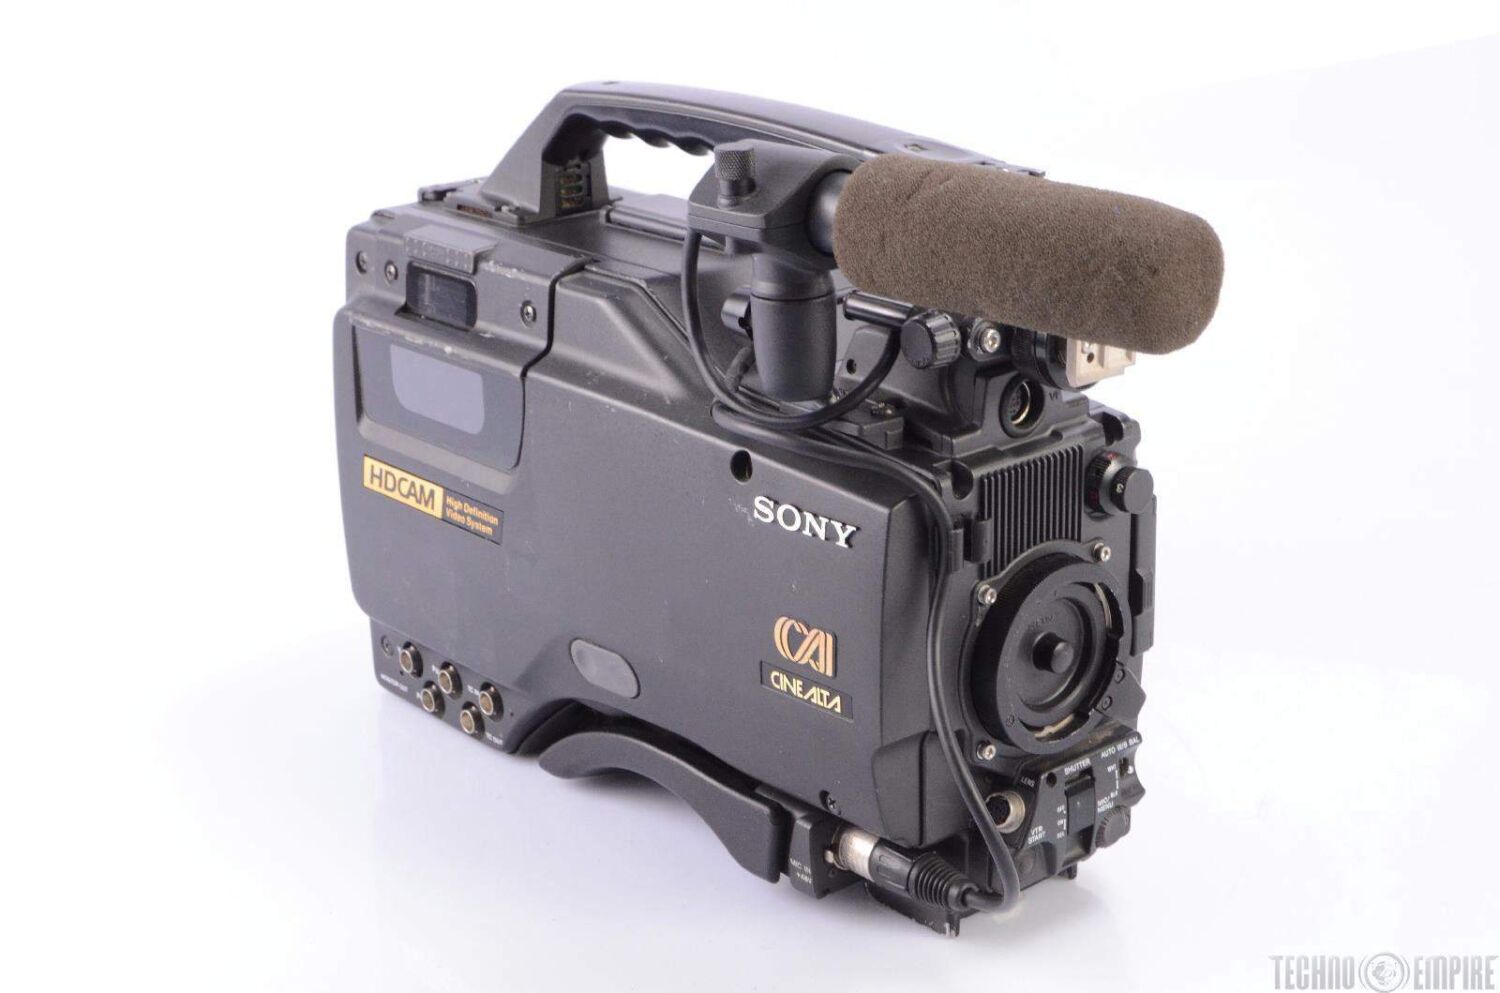
As HD slowly crept up on the world as the millennium approached, lens flares became taboo, TV became more about sharp, vivid pictures with plenty of contrast, often shot in studio environments. The quest for ultimate picture clarity was paramount. Early Sony, Panavision and ARRI digital cinema cameras provided 11(ish) useable stops of dynamic range, falling 3 stops short of some 35mm stock, and spherical lenses were made to take full advantage of every available pixel, leaving no margin for error (or in my opinion, character).
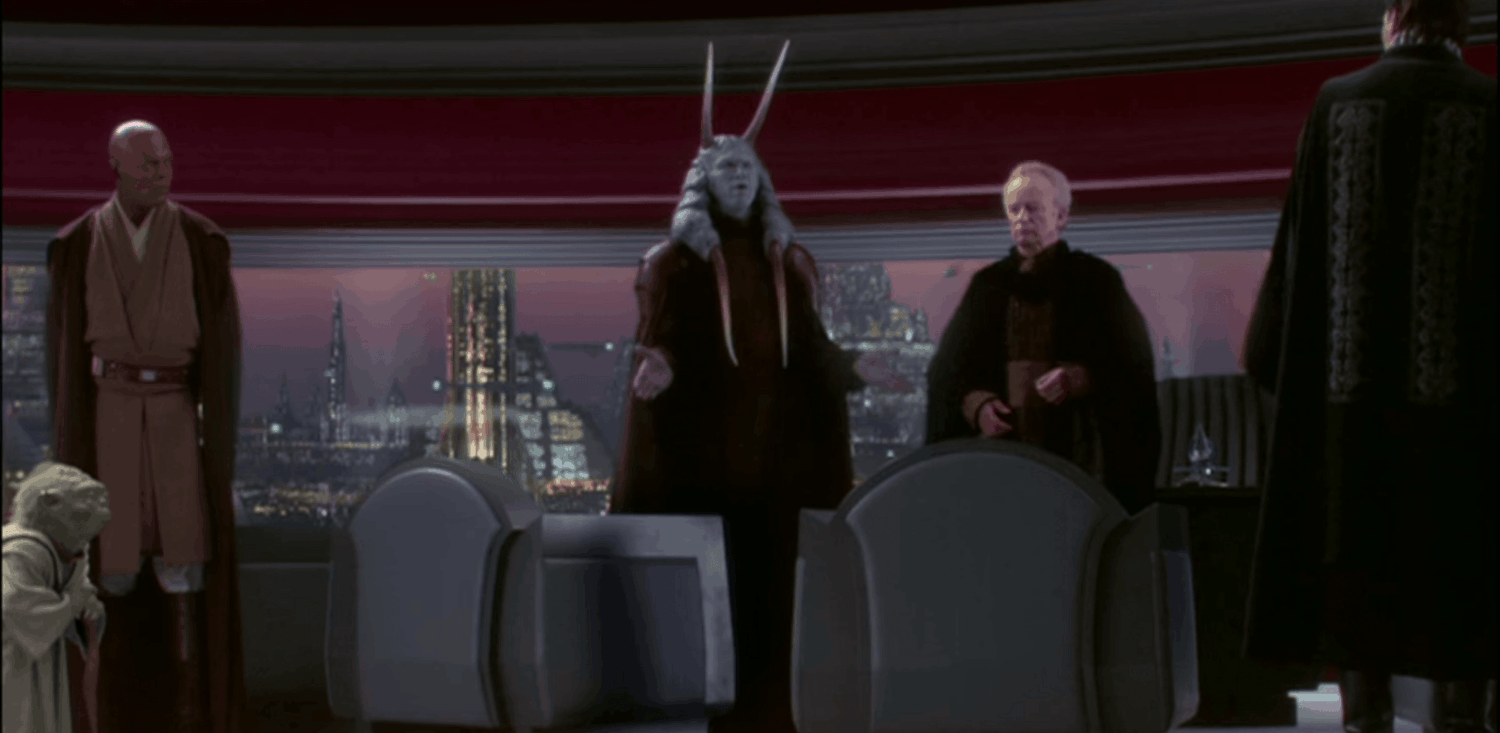
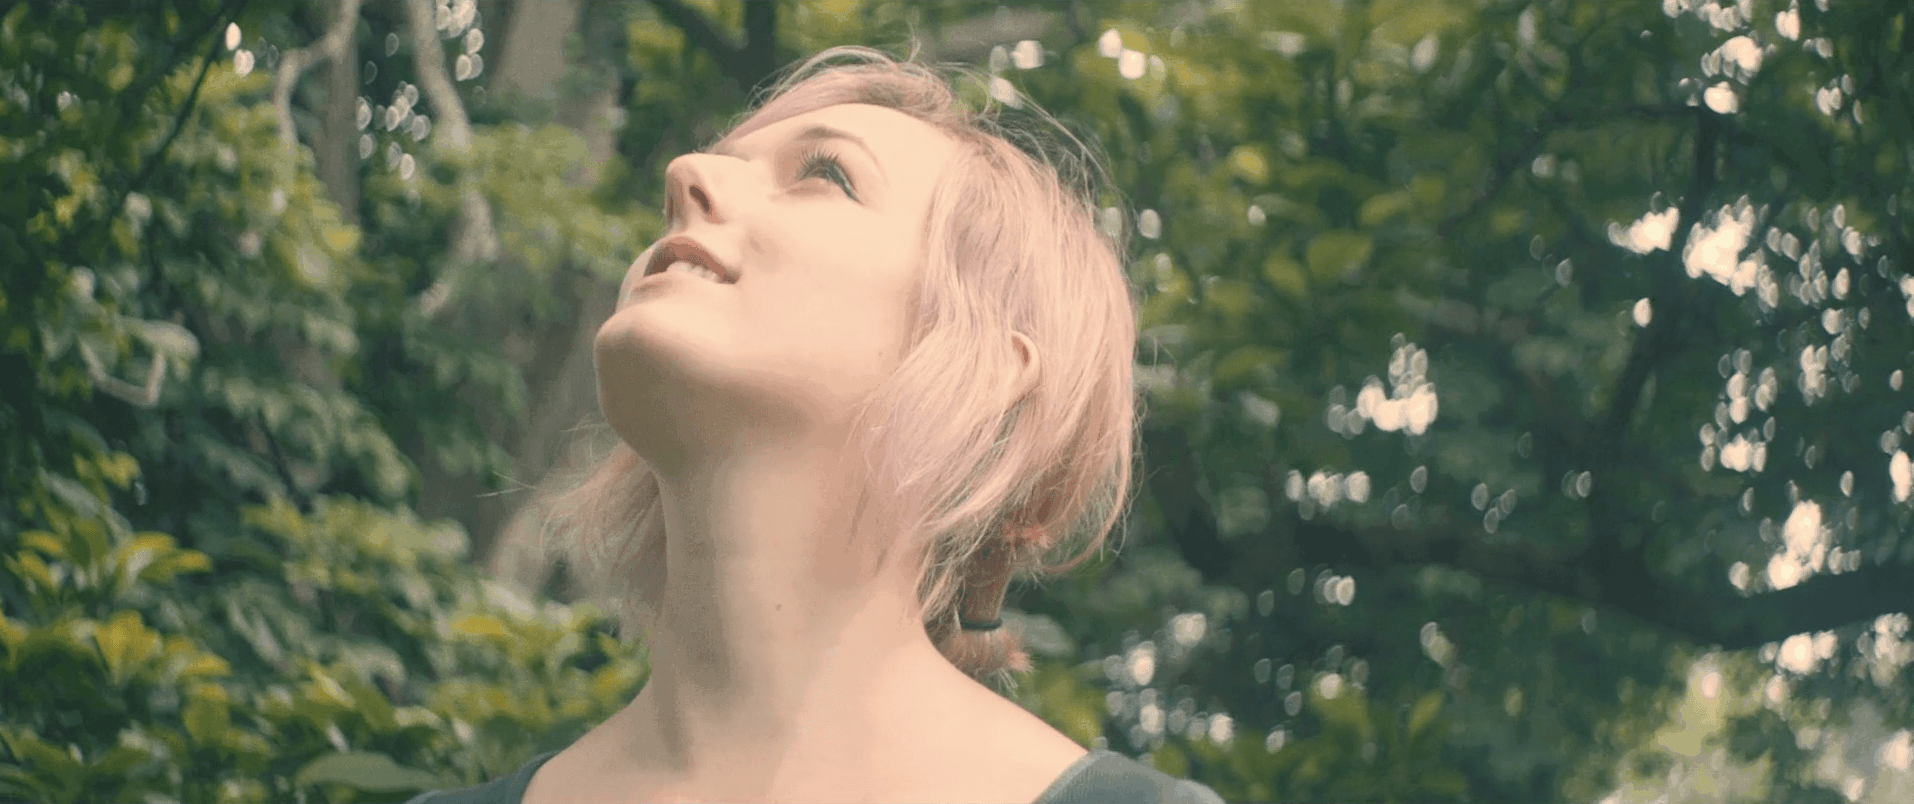
Luckily there were those willing to keep the Anamorphic dream alive, as they waited for the over sharpened, high contrast, flare-less shit storm to blow over. Anamorphic lenses seemed to represent everything I loved about film, without even knowing it. Their organic nature, the unpredictable flare, the soft edges of frame. That characteristic oval-shaped bokeh. Everything that TV wasn’t, anamorphic was.

By now you’re thinking “that’s all well and good, Jelley, but where the fuck are you going with this ramble?” and you’d be right to, so I’ll get down to business. If you want to shoot on anamorphic lenses, which by the way, is one of the most joyous moments of my DoP career to date when I got the chance to use some Hawk-rehoused Lomo lenses on a recent music video shoot for Novo Amor, you’d have to either have a secret stash of Nazi gold under your bed, or fork out a cool grand per day to rent a good set. Until now.

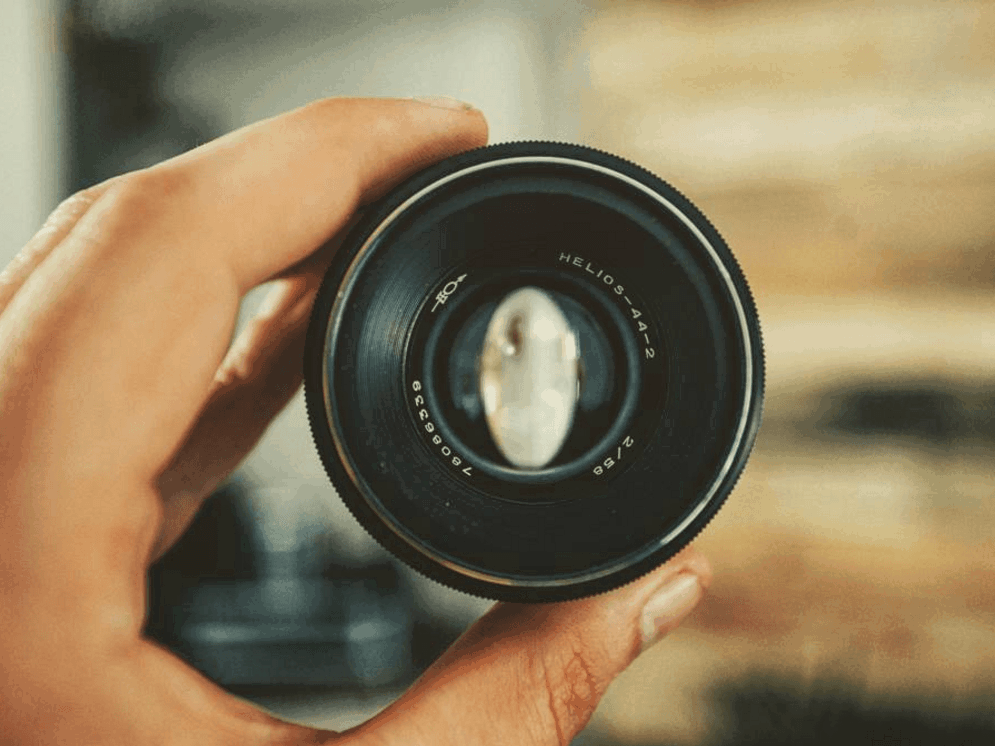
Adapting spherical lenses to give them an anamorphic look is nothing particularly new; companies like SLR Magic and Anamorphic Store have offered lens adapters and even made their own lenses to turn your ‘Nifty fifty’ anamorphic. This usually resulted in quite a heavy rig, with dual focus elements that were a bit of a handful. Just as I started to think that anamorphic was never going to find its way to the masses, a guy called Tito Ferradans came up with the idea of modifying the Russian Helios 58mm 44-M into something a little more “anamorfake”. So I had a go.
Let’s get one thing straight. I love Russian vintage lenses. I first stumbled upon them about 5 years ago, and picked up my first one in a Wells antiques shop for £10. I spent a fiver on an adapter for my Canon 5D Mk2, and was immediately besotted with the results. The lack of coating (often due to the lack of quality control in Soviet lens factories), the skin-tone diffusion, the damn delicious flare and my god, that bokeh. Dribble.

These lenses already had most of the features that I loved about anamorphic lenses, so it really was a no brainer to attempt a modification. Here’s a pretty basic (for me) breakdown of the items I ordered to get this project underway:
The Lens
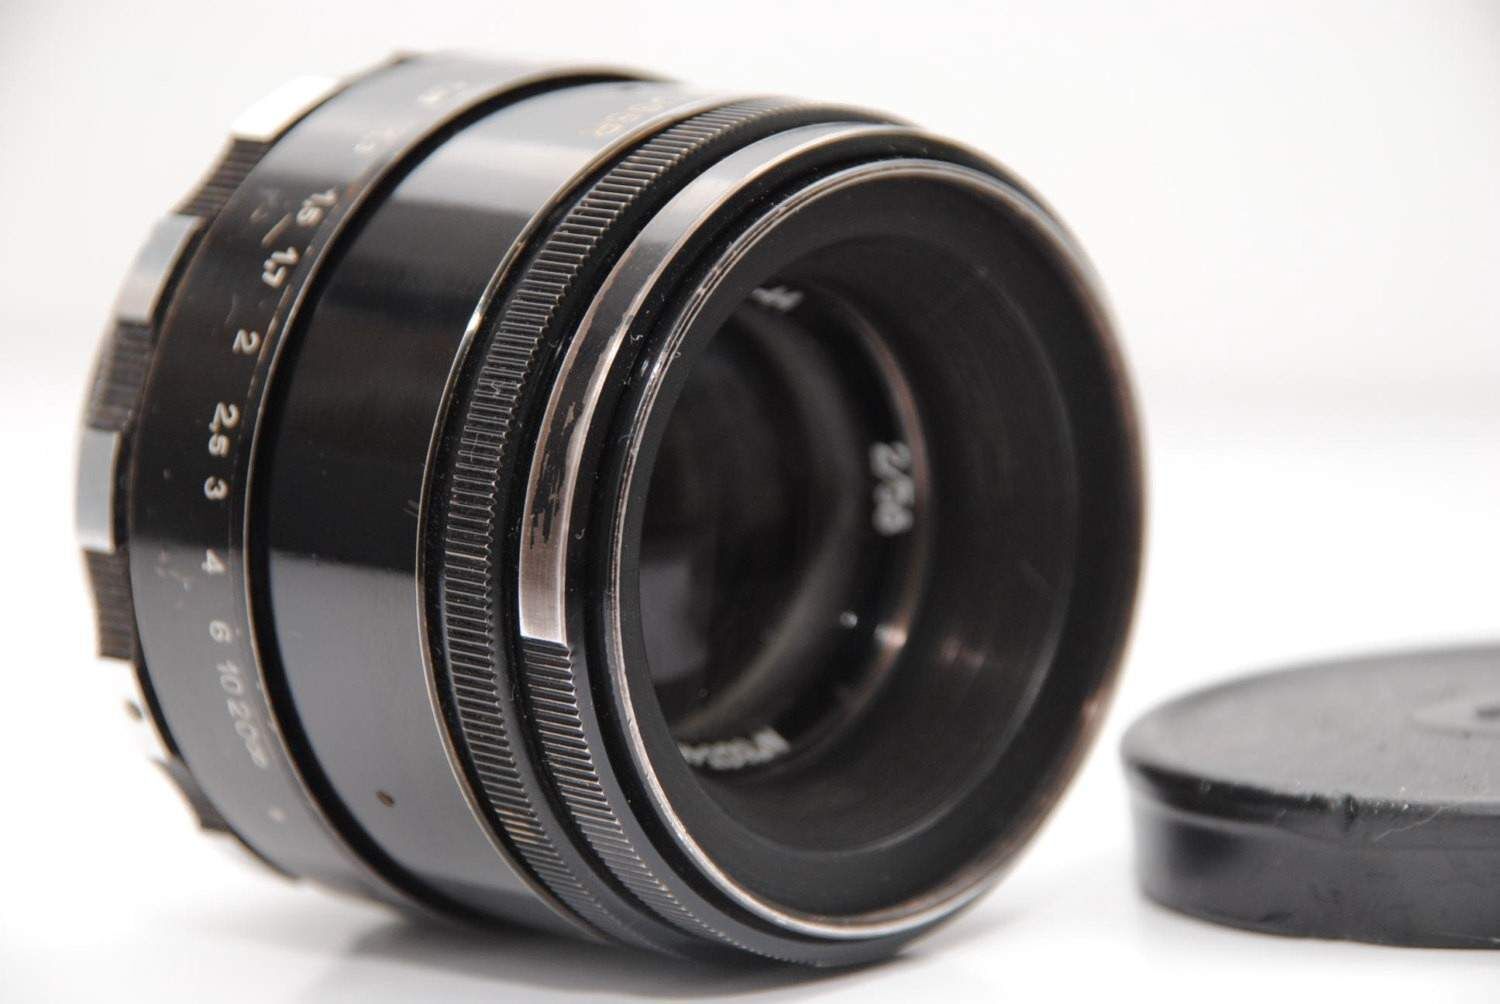
1978 Helios 44–2 58mm F/2.0
I got this one from eBay. Anything pre 1980 has a better chance of having less coating and more importantly less chance of being a damn Japanese replica (like many of the 44-M’s on the market). Beware of tiny scratches, oil on the aperture blades and general mould/miscellaneous stuff in the lens. Price: £30
The Aperture Disks
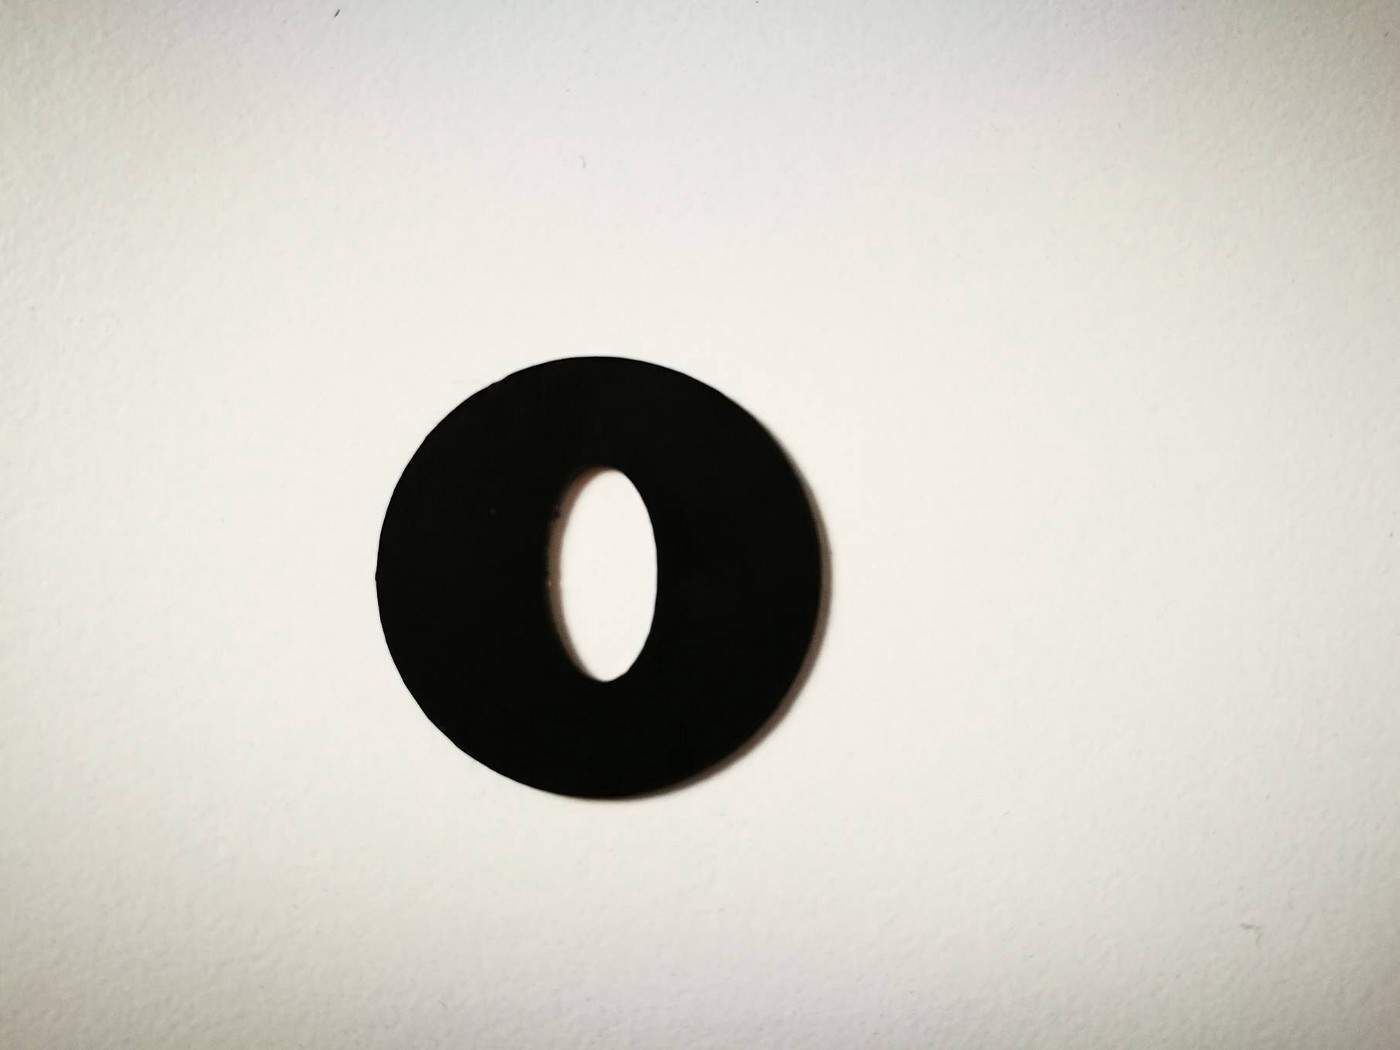
0.5mm Matte Black HIPS Acrylic
The main image modification to the lens itself revolves around the aperture disk. Inserting a custom oval-shaped disk provides that essential oval bokeh which is a trademark of an anamorphic lens. After seeing several attempts from various YouTubers at cutting perfectly circular disks themselves out of materials such as card which they’d then coloured in with a marker pen, I realised that this definitely wasn’t something I had the skill nor the concentration to do. This was a job for a machine. Luckily Tito (who I mentioned earlier) had uploaded a template, which I sent across to my friendly neighbourhood laser cutter, who happened to be running a very steamy enterprise from his loft. Price: £20

The Lens Wrench
If you’re going to tumble down the rabbit hole into the world of lens modification, you’re going to need to get your hands on one of these. It’s basically two flat head screwdrivers with a metal plank between them so that you can adjust the distances. Seems a bit stupid, but is invaluable when it comes to (very carefully) taking lens elements apart. Price: £8
The Assembly
Once I’d received all of the necessary parts, I excitedly went to work on disassembling my lens. This, with the help of my handy lens wrench, was pretty easy. Installing the aperture disk on the other hand, not so much. Getting it in place and lined up was straightforward, but trying to then screw the lens back together while keeping the disk in place was a different story. Top tip: tiny pieces of matte black tape work a treat.
The Results
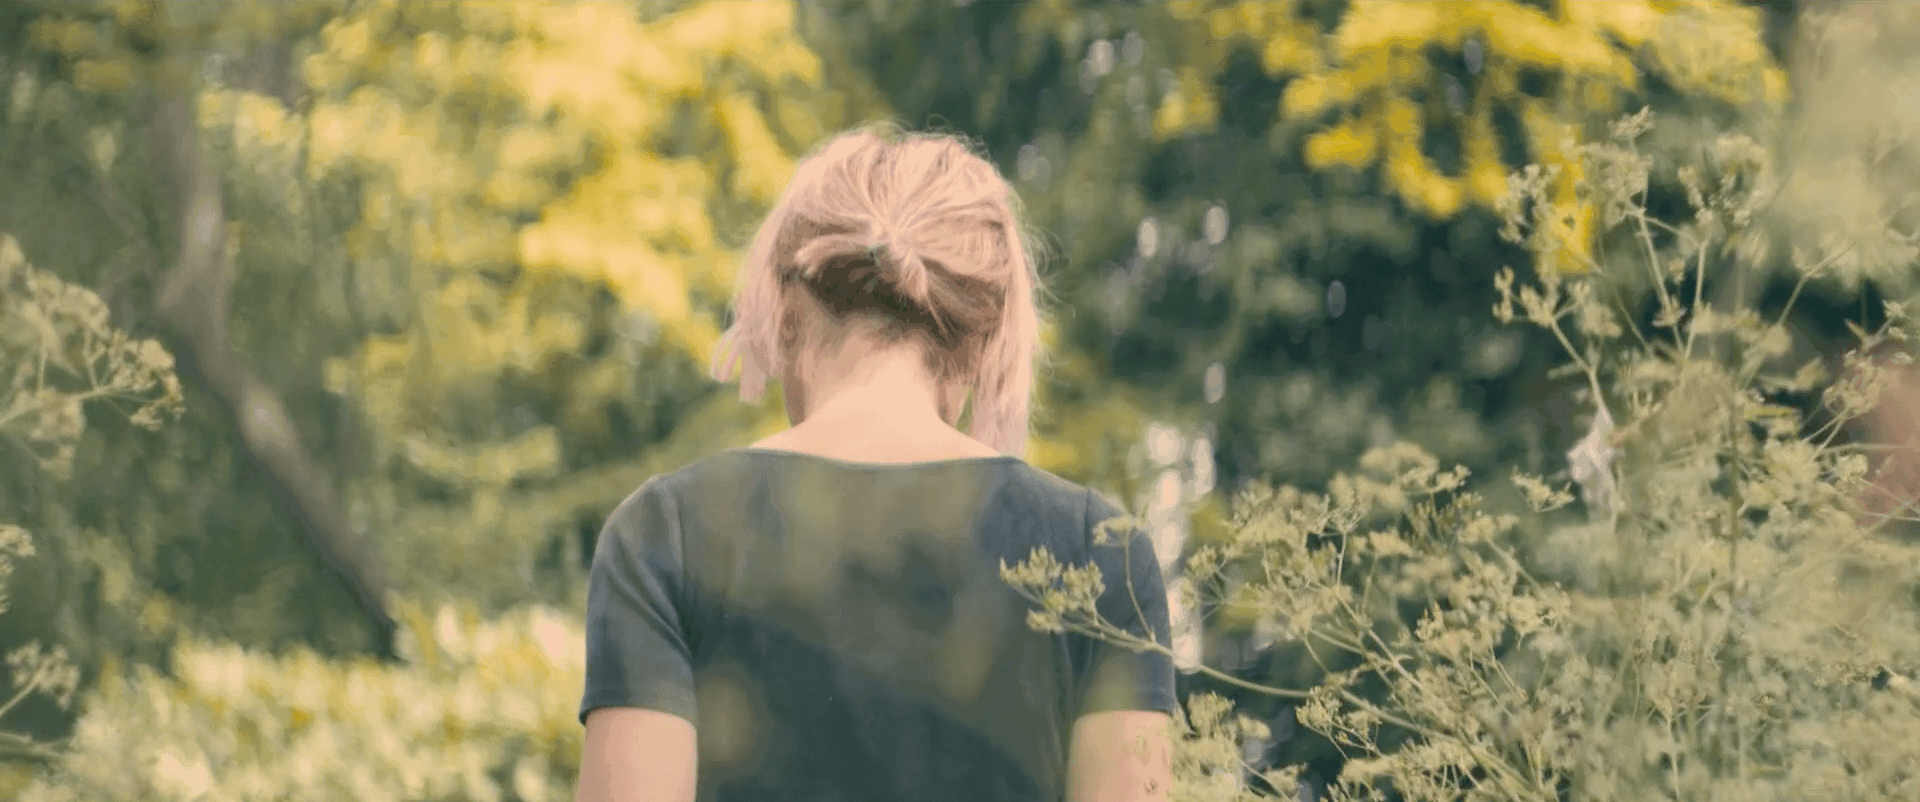
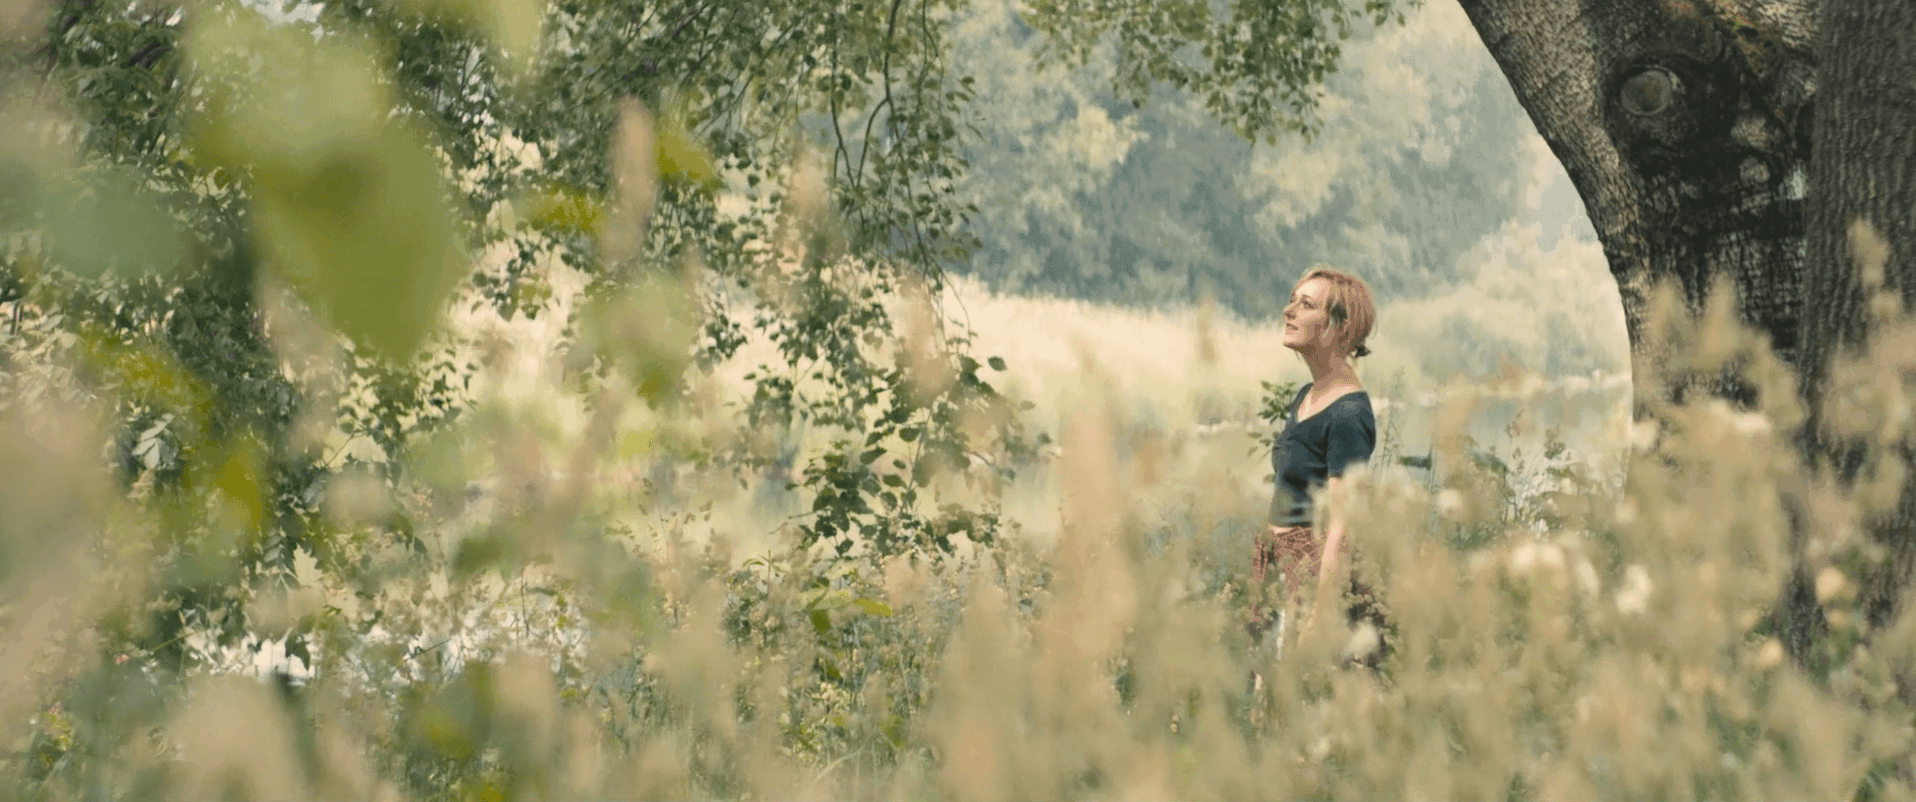
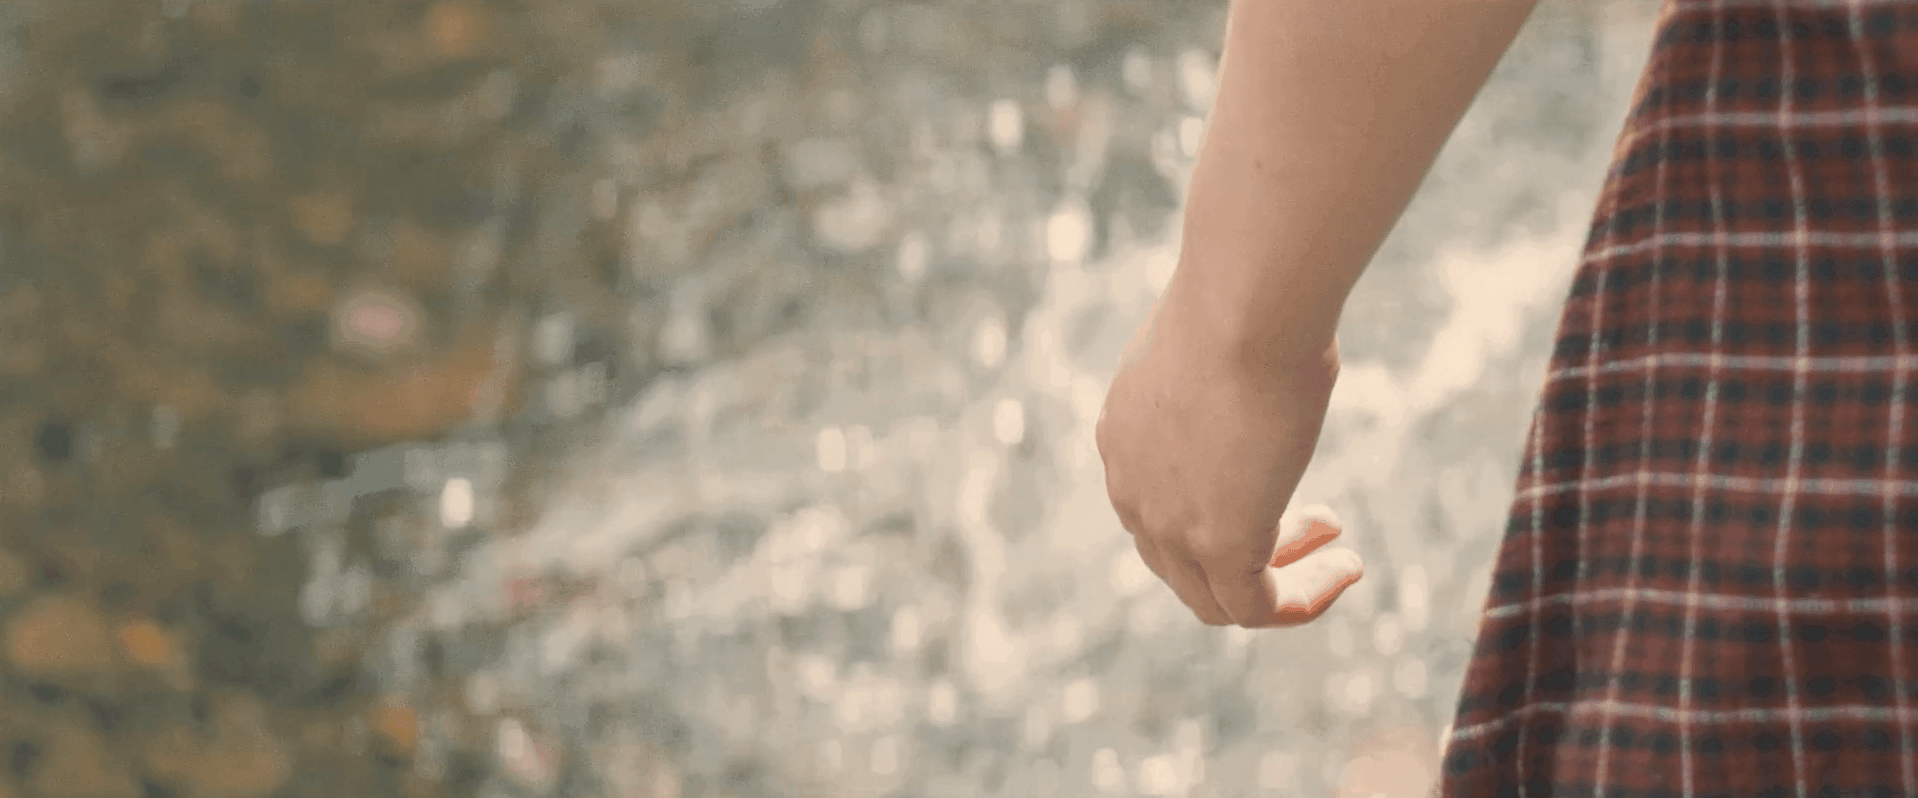
Look at it. JUST LOOK AT IT. Tell me that for 1/431 of the price of purchasing a vintage anamorphic lens this isn’t an absolute breathtaker of an image. Even the Sony FS700, which at its best still looks pretty “video” in my opinion, is transformed into a faux-film phenom. If you’re on a tight budget and have a knack for up-cycling and a general disregard for da rulez, this is definitely an option for you.
Pros & Cons
As much as I’d like to stay in a dream state of besottedness with my new creation, this being an objective, professional blog dictates that I must provide some actually useful feedback based on my findings:
Pros
- Bloody look at it! Just look at it. That image is peng.
- It’s cheap, really cheap. SO CHEAP.
- It’s relatively easy to do and quite fun if you’re that way inclined.
- You will be the at the envy of your peers who will wonder how you’ve blagged enough budget for anamorphic lenses.
Cons
- As much as looks the part, it will never truly be as good or effective or convincing as a proper anamorphic lens.
- It can be a complete bastard to get the aperture disk to stay in place.
- You might have to watch your mates’ eyes glaze over as you attempt to explain what the hell you’ve been doing in the office at 11pm on a Wednesday.
- The lack of aperture control (other than swapping out disks) means you are pretty reliant on either an internal or additional ND filter.
- No focus or aperture gears makes for an interesting focussing experience.
Conclusion
While this adventure may have cost me £58, a few evenings, and the respect of my close friends whom I’ve bored to death talking about it, I’d say it was definitely a worthwhile endeavour. I wouldn’t necessarily recommend trying to convince a client that you hired in anamorphics for a job when in reality you used these, as a trained eye will be able to tell the two apart. There’s definitely an argument for making a full set of these lenses.
Definitely.
For some jobs, especially online content and anything that needs that soft filmic look on a tight budget, I couldn’t recommend these lenses enough.
For more guidance on choosing the perfect lens, check out our guide on how to choose your glass.
Lewis Jelley
Director Of Photography, Storm & Shelter
lewis@stormandshelter.com
