Sony a7S & Atomos Shogun: A Setup Guide

Laurel & Hardy. Bonnie & Clyde. Ant & Dec. All examples of famous partnerships.
Decent enough in their own right, but much better together (or worse in Bonnie & Clyde’s case). Similarly, the Sony a7S can only reach its full potential when combined with a partner – an external recorder.
There are several accomplices available on the market today: the Odyssey 7Q+ and PIX-E5h to name a couple, but the most popular is the Atomos Shogun.
The Shogun has an array of tools and features to help you improve your shooting, but much like the Japanese military commanders that it’s named after, unless you know which tools to implement and when, you could be waging a losing battle.
This article aims to shed some light on best practices when shooting with the a7S and the Shogun. We’ll also provide some useful hints and tips, ‘cuz we’re nice like that.
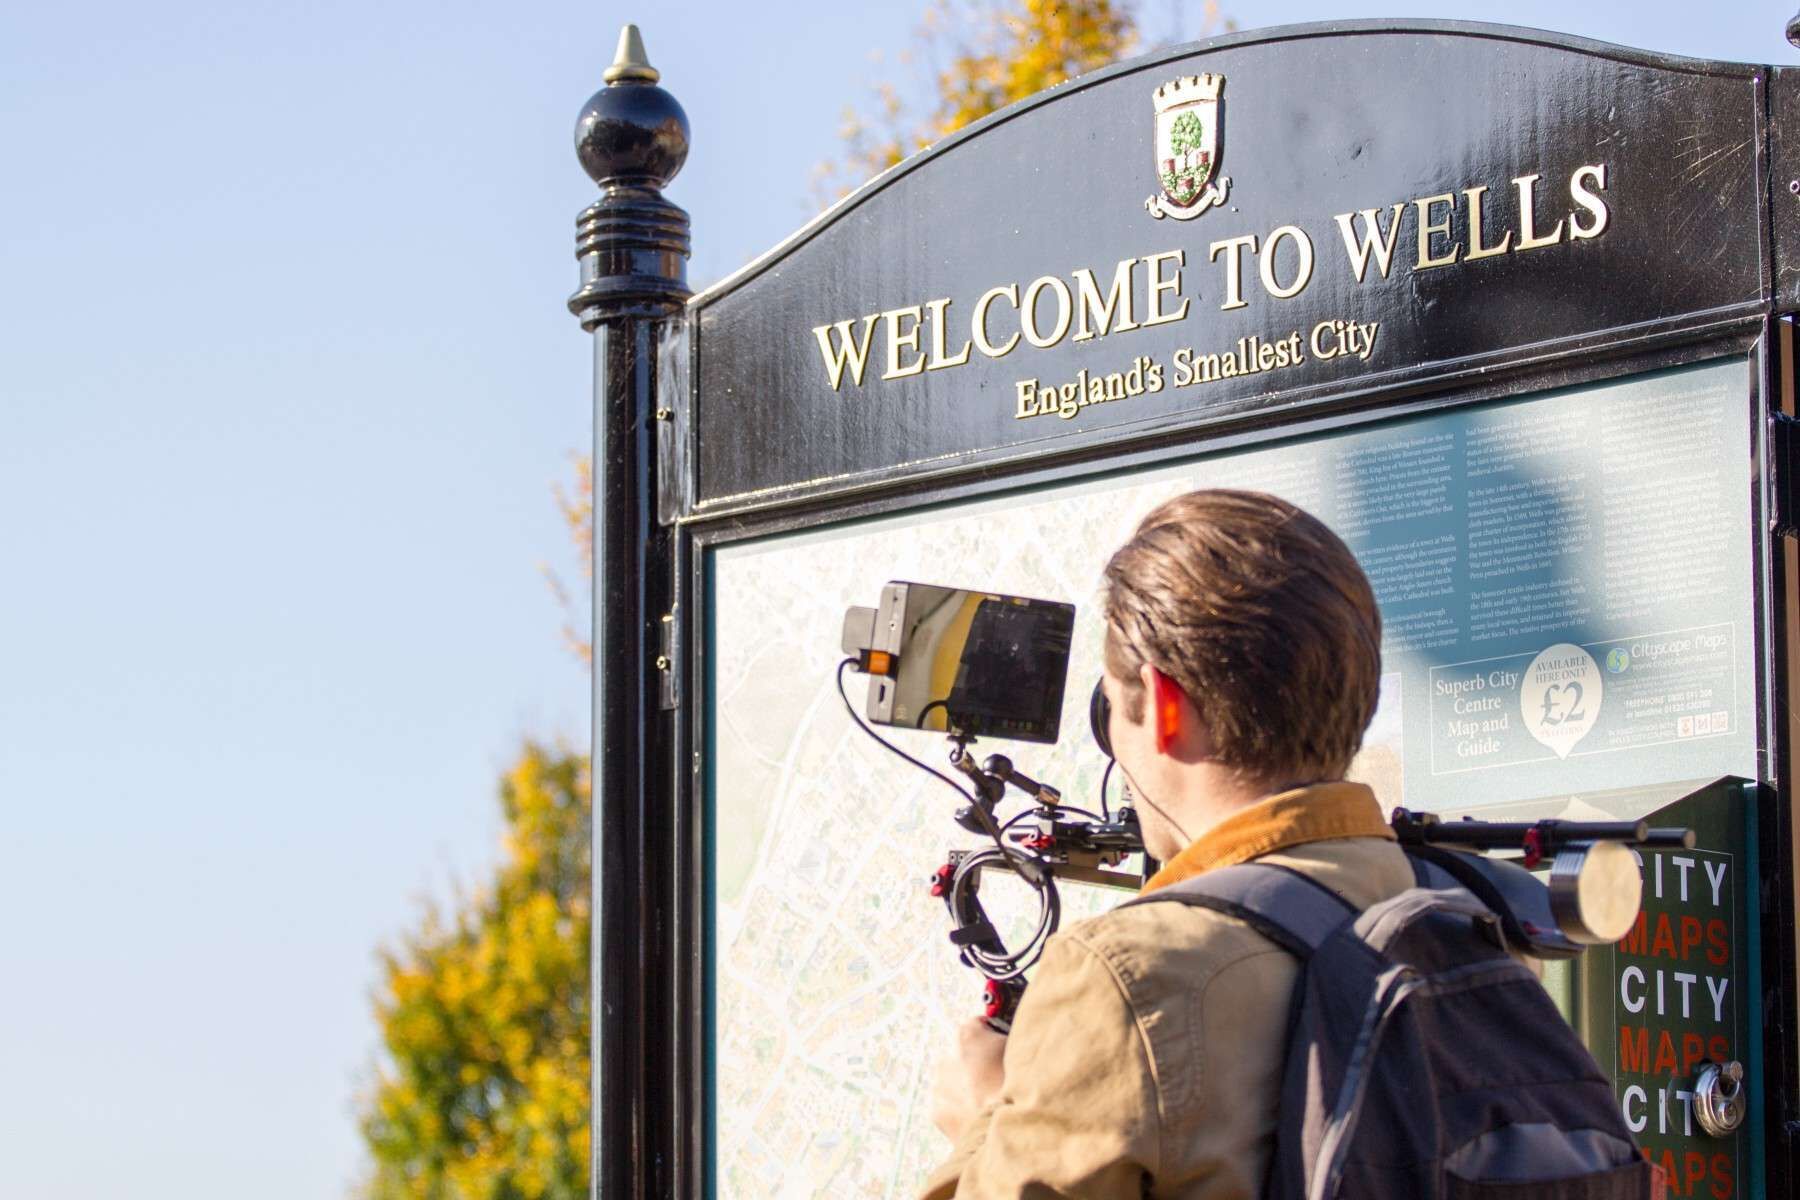
Sometimes we don’t even make it out of the office to do our camera tests, but this time I thought I’d make more of an effort.
Due to my immensely unreliable car leaving me with no option but to take it to a garage near my parents’ house in Midsomer Norton, I ventured to the home of Hot Fuzz (Wells) — all for the greater good, I told myself.
1. Getting it out of the box and turning it on
Before smashing down your cereal and bounding out of the house with your brand new Atomos Shogun and an immeasurable sense of excitement for things to come, be sensible and put the batteries on charge the night before to avoid disappointment.
Next, you need to connect the battery to the Shogun and insert an SSD ready for recording.
Note: Use some common sense when doing this. Connect your SSD BEFORE turning the Shogun on. We haven’t tried doing it the other way around, and we suggest you don’t either.
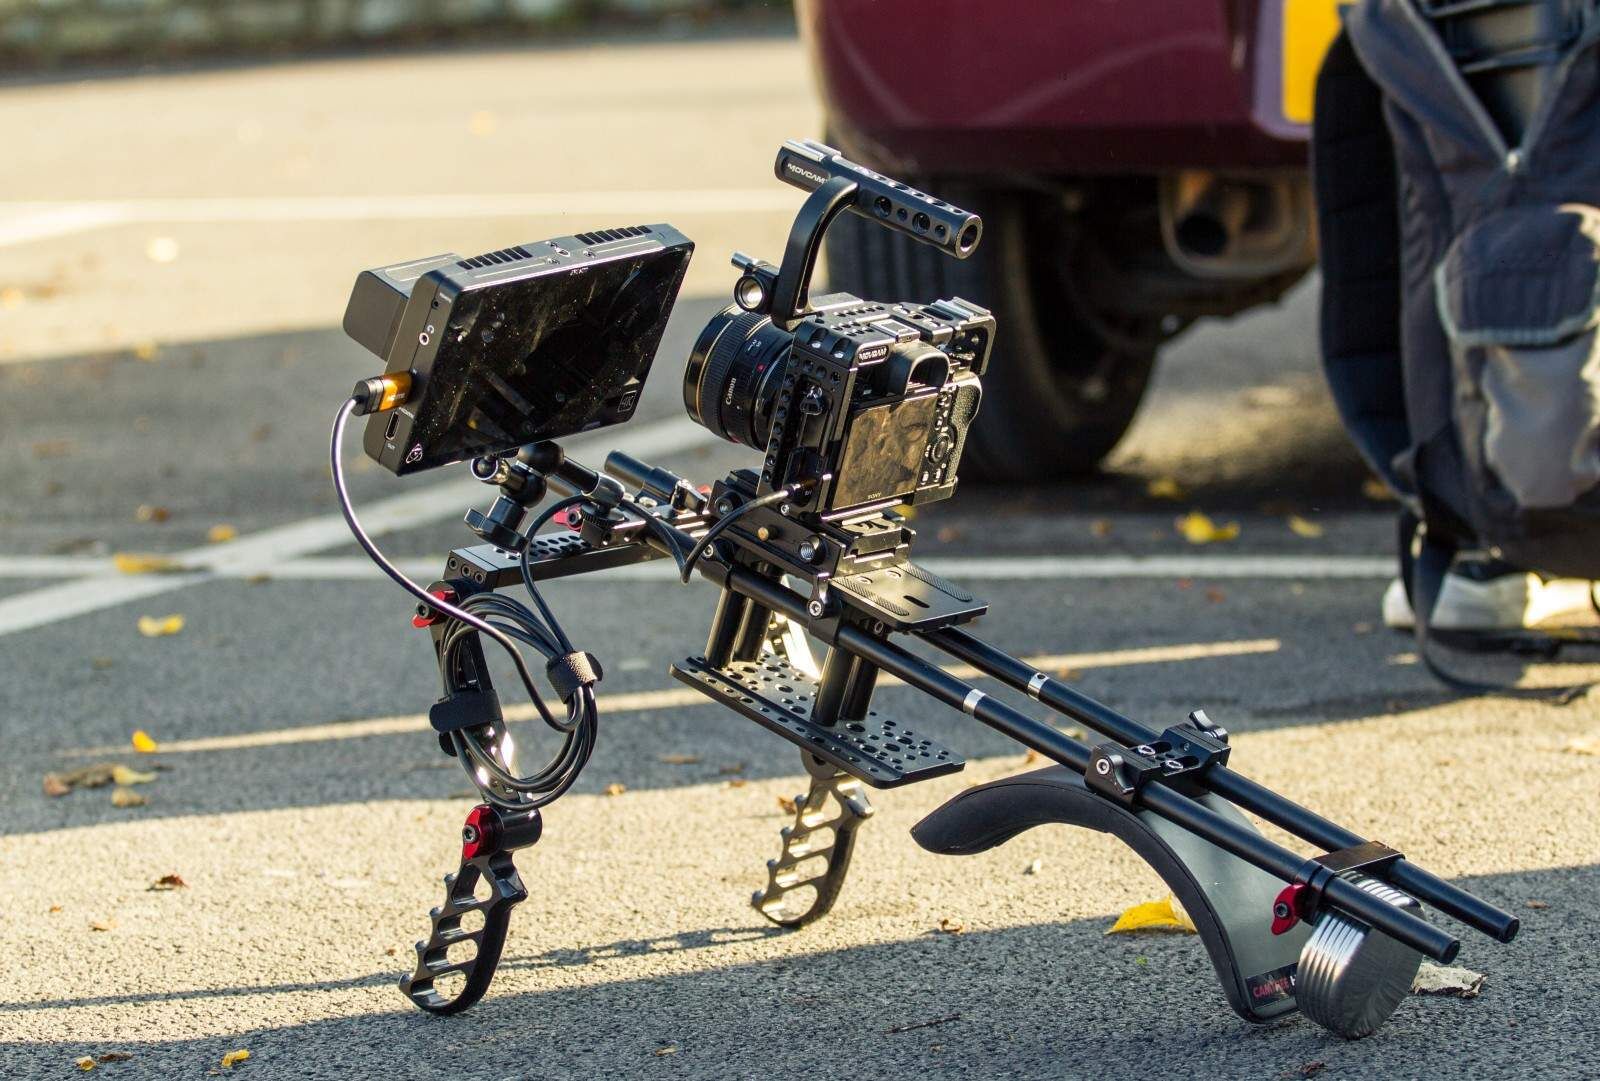
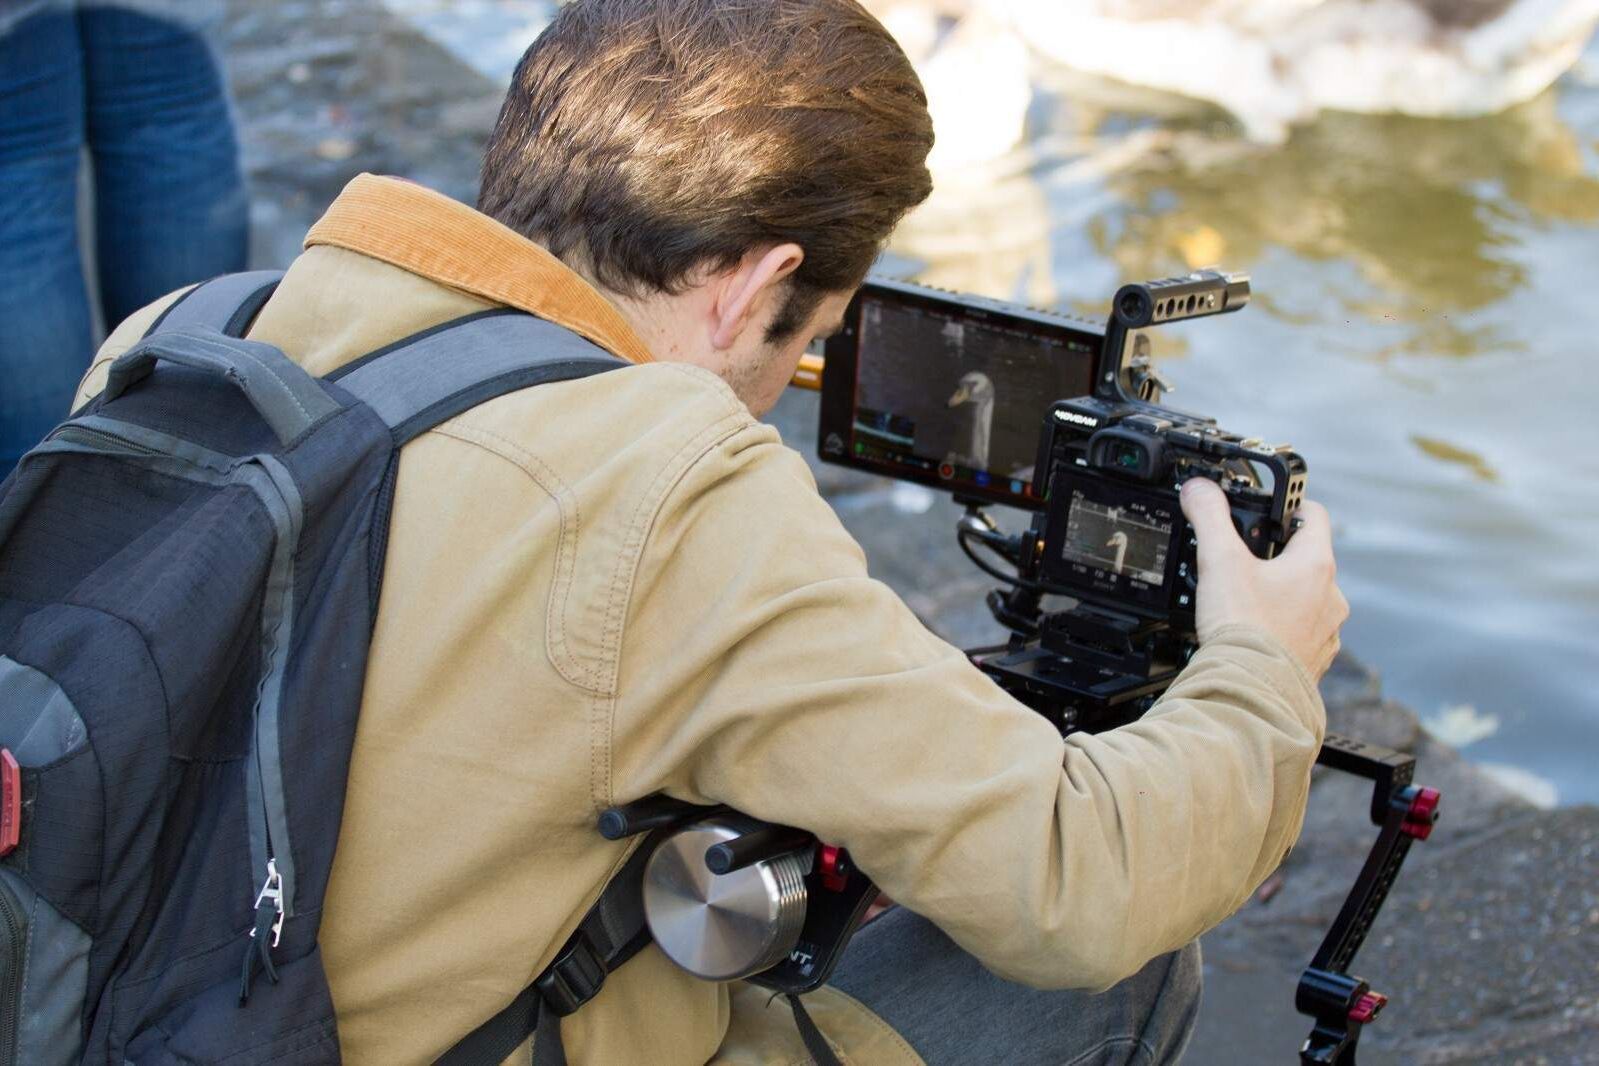
It’s a good idea to think about how to mount the recorder to your rig before heading out to shoot.
The solution that works best for us is to use a rail-mounted magic arm, which is great if you need the monitor to be in front of your face when shoulder mounting.
You’ll also need a HDMI to HDMI Micro cable to connect to the a7S. Don’t confuse this with the HDMI Mini, as that’ll be really annoying and will no doubt lead to the blurting of loud expletives likely to offend a passer-by.
Once you’re all set, you’re ready to turn on. Hold down the on/off button for a couple of seconds, and ta-dah, the Shogun pops into life.
Providing you have the camera turned on, you’ll get an image almost immediately.
Before we get into codecs (the fun bit), it’s a good time to point out that the Atomos Shogun works just fine as an external monitor alone.
If recording 8-bit 4:2:0 XAVC S internally is your thing, then you can do just that and make the most of all the monitoring tools that the Shogun offers.
But let’s face it. You didn’t just smash your piggy bank open with a hammer to buy a 4K recorder and use it exclusively as a monitor, did you?
2. Codecs (Yay!)
Thanks to the a7S’ ability to output 4K through it’s HDMI port, the Shogun is able to interpret that data and record it in the form of a 4:2:2 UHD file.
In order to do this, you need to head into the a7S’ menu, and find “HDMI 4K Output”, which is located in Menu 6, Sub Menu 3 (incase you were wondering). Select 25p (if that’s what you want to shoot in), and you’re good to go (Menu 6 > Sub Menu 3 > HDMI 4K Output).
If you don’t want to shoot in 4K, and also don’t want to shoot internally, you can opt to record to the Shogun in 1080p by leaving the HDMI 4K Output “off”.
This will also allow you to shoot up to 60fps using the usual a7S menu functions. (That is, if normal, human motion is a bit too fast for you.)
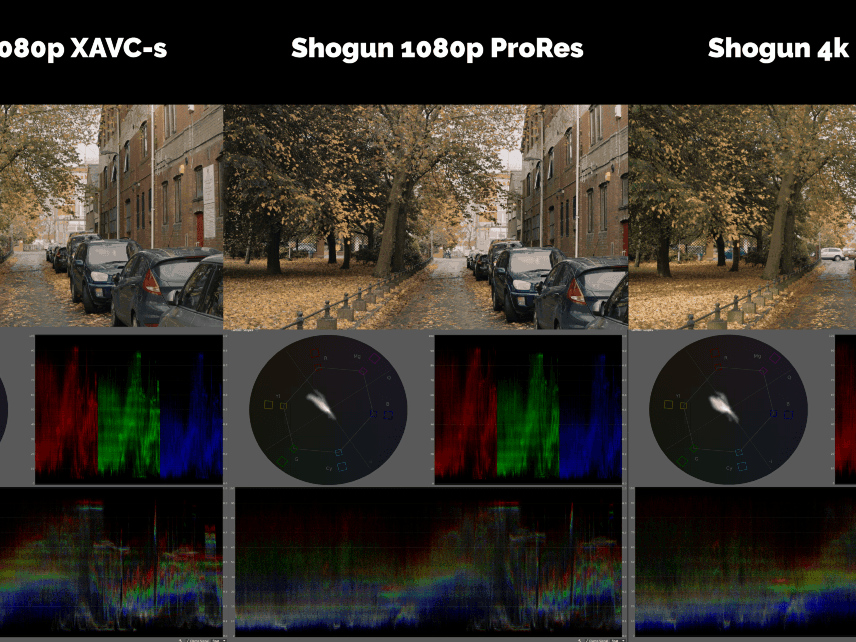
Note: Be aware, the Shogun’s 1080p ProRes recording gave us some weird results in tests.
The Atomos Shogun gives you a choice of 2 different codecs: ProRes & DNxHR/HD. ProRes can be recorded in 4K & 1080p, in a list of compressions: 422, 422HQ, 422LT. ProRes is bloody lovely — a widely used codec, neatly bundled inside a Quicktime wrapper (.mov).
It’s accepted by almost every editing software on the market, and is particularly popular with Apple users due to its integration with their hardware acceleration features.
DNxHR/HD on the other hand, has it’s own little reserved space in hell as far as we are concerned, as it’s the preferred codec of… *muttered under breath* Avid.
Sure, if you’re sending the footage to certain departments of major broadcasters then it might be the right codec for you, but if like us, you like to edit your material using the wonderful Adobe Premiere Pro CC, stick with ProRes.
In a previous test we found that providing you have a recent and decent editing system and plenty of storage space, shooting in 4K ProRes and downsampling in post is actually the best way to achieve clean, sharp 1080p material, so that’s something to bare in mind.
3. Exposure & Colour
In terms of exposure/colour monitoring, the Shogun has more options than you can shake a stick at.
When it comes to making sure your footage is well exposed and balanced, its good to know that you can see the screen clearly, even in sunlight.
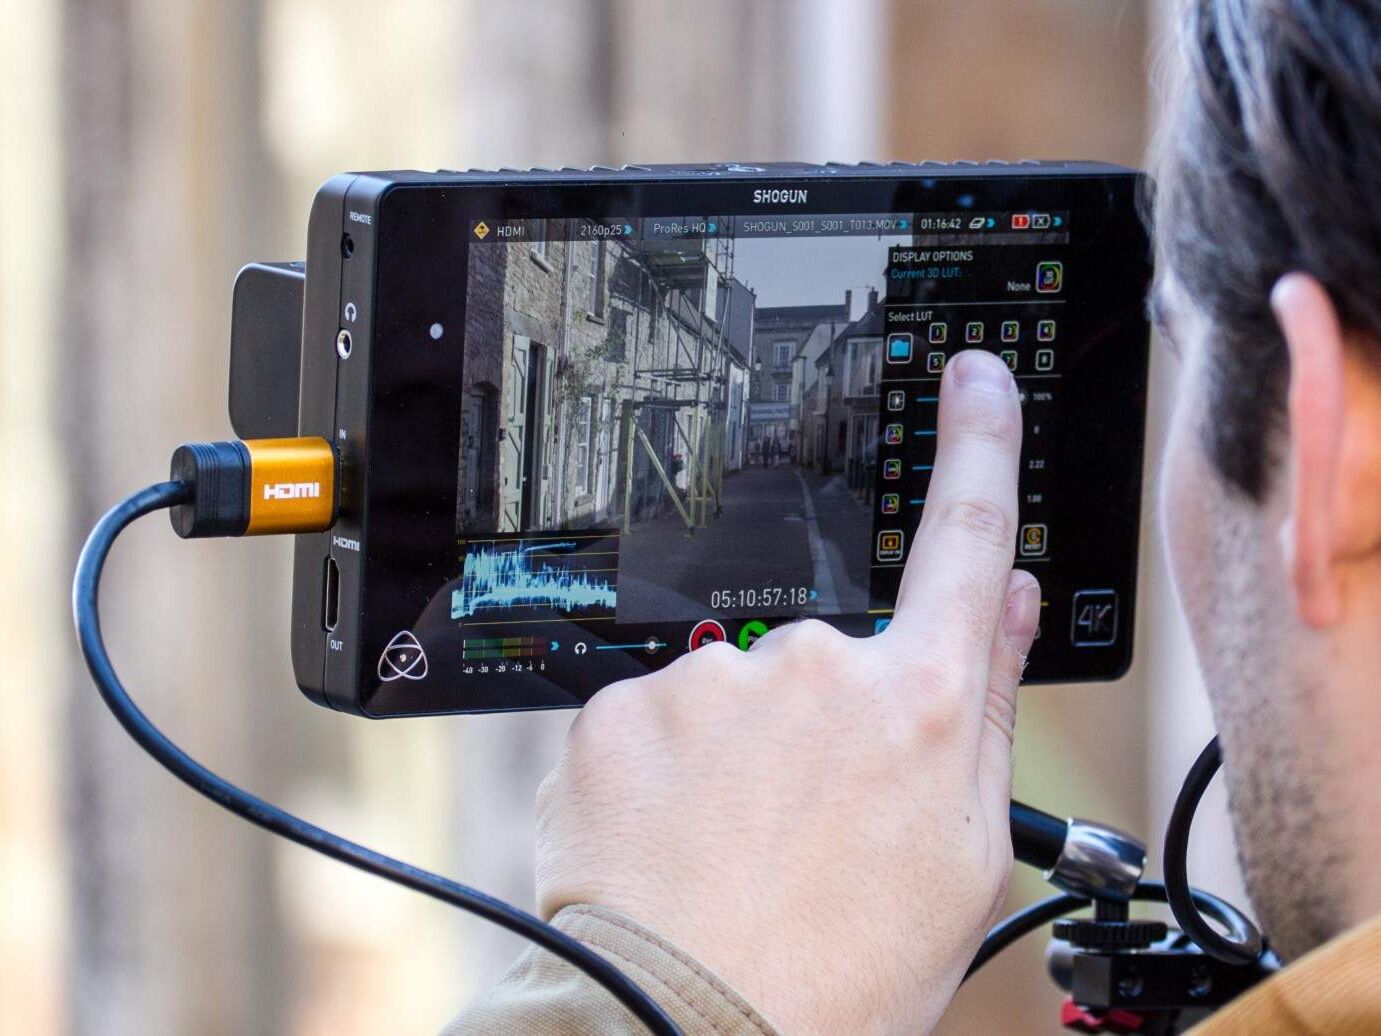
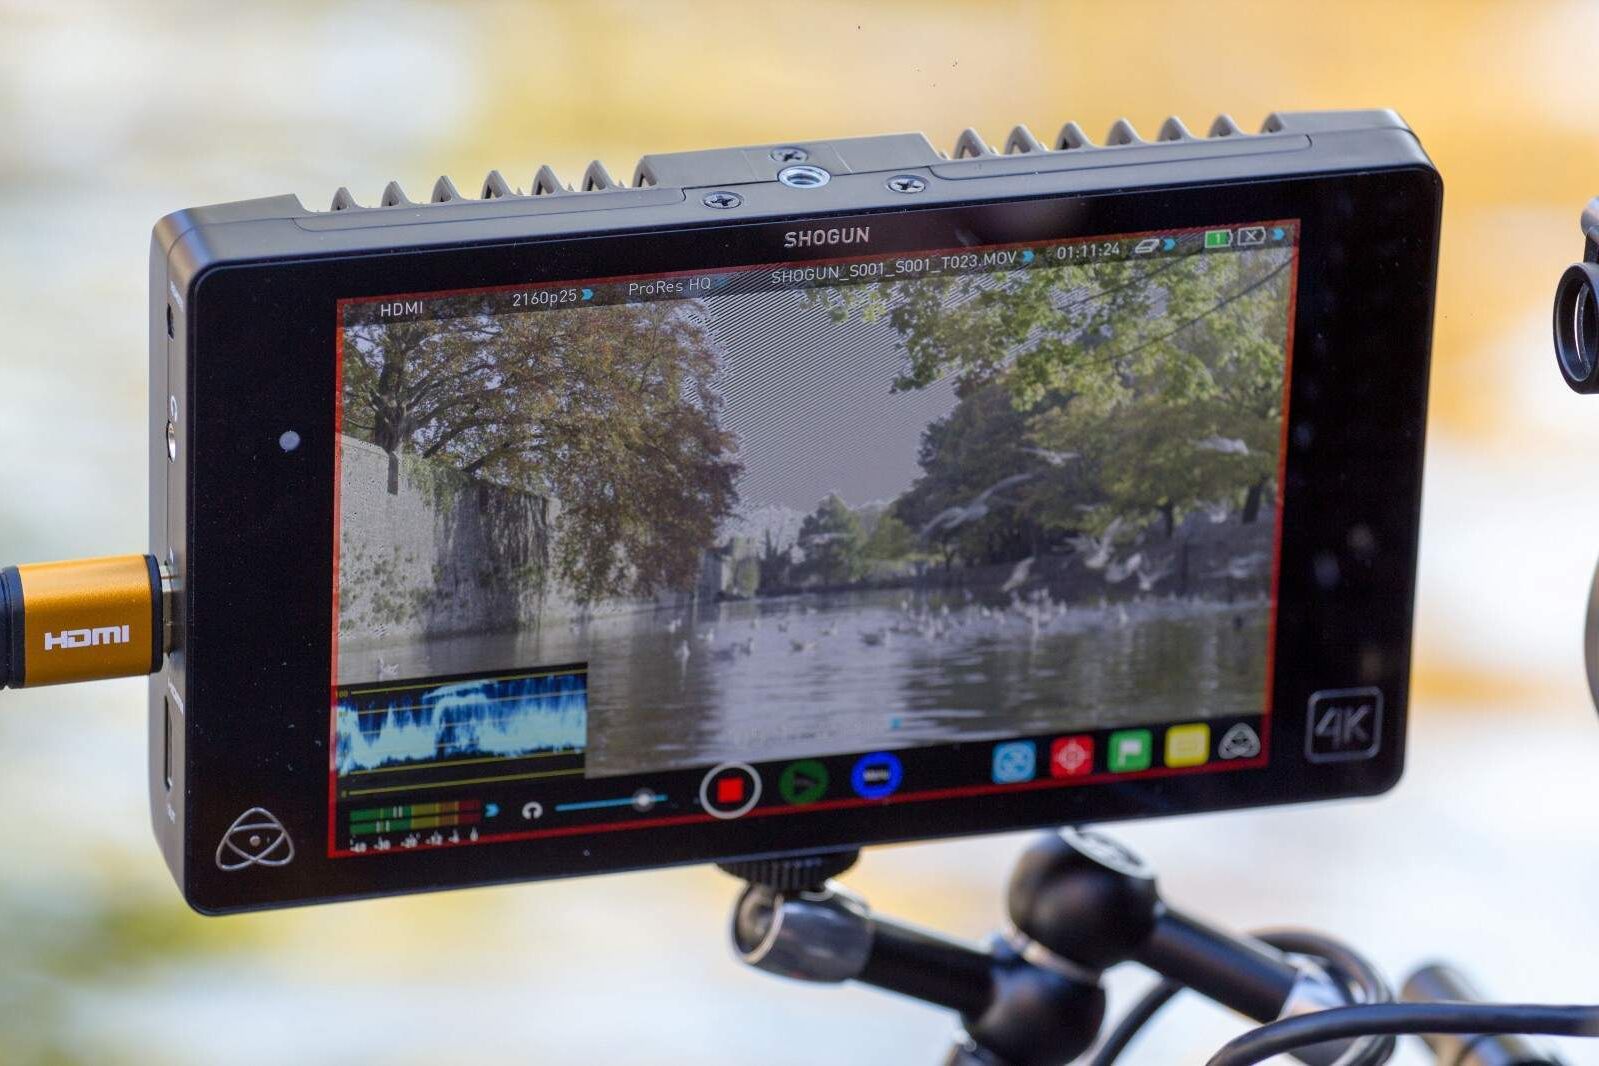
The Shogun’s 320ppi IPS screen is beautifully sharp and bright, even without a hood (although Atomos do sell one, if semi-permanent shade is your preference). Waveforms, RGB Parades, Vectorscopes and Zebras (not forgetting LUTs, but we’ll get to that later) are all available if you need them.
Getting to them in the menu system is a doddle, and you can even adjust the scopes’ transparency and size to make sure they don’t impede your vision when shooting.
After you’ve set your white balance and picture profile in the a7S, there isn’t much more you can do in terms of colour adjustment, so once we’ve checked that, we prefer to use the singular luma waveform.
We like it so much that it’s pretty much all we use when monitoring exposure on-the-fly. The Zebra lines are nice and clear and can be adjusted to only read out at a certain exposure percentage, but for us they’re a bit too distracting to keep on permanently.
A very cool feature of the Shogun is being able to stuff it with 3D LUTs, such as Impulz Vision Colour LUTs.
This can be done by pasting them onto an SSD which you then plug into the Shogun and install them (the process of which is actually really easy, but a bit too long-winded for us to explain here, see this link).
LUTs allow you to get a good idea of what your footage will look like once it’s been graded, without having to bake-in any colour effects that might compromise flexibility in post.
This is particularly useful if, like us, you shoot in S-Log2, which can look very flat and grey in it’s original form. You can save up to 8 LUTs to the Shogun at once.

4. Focus
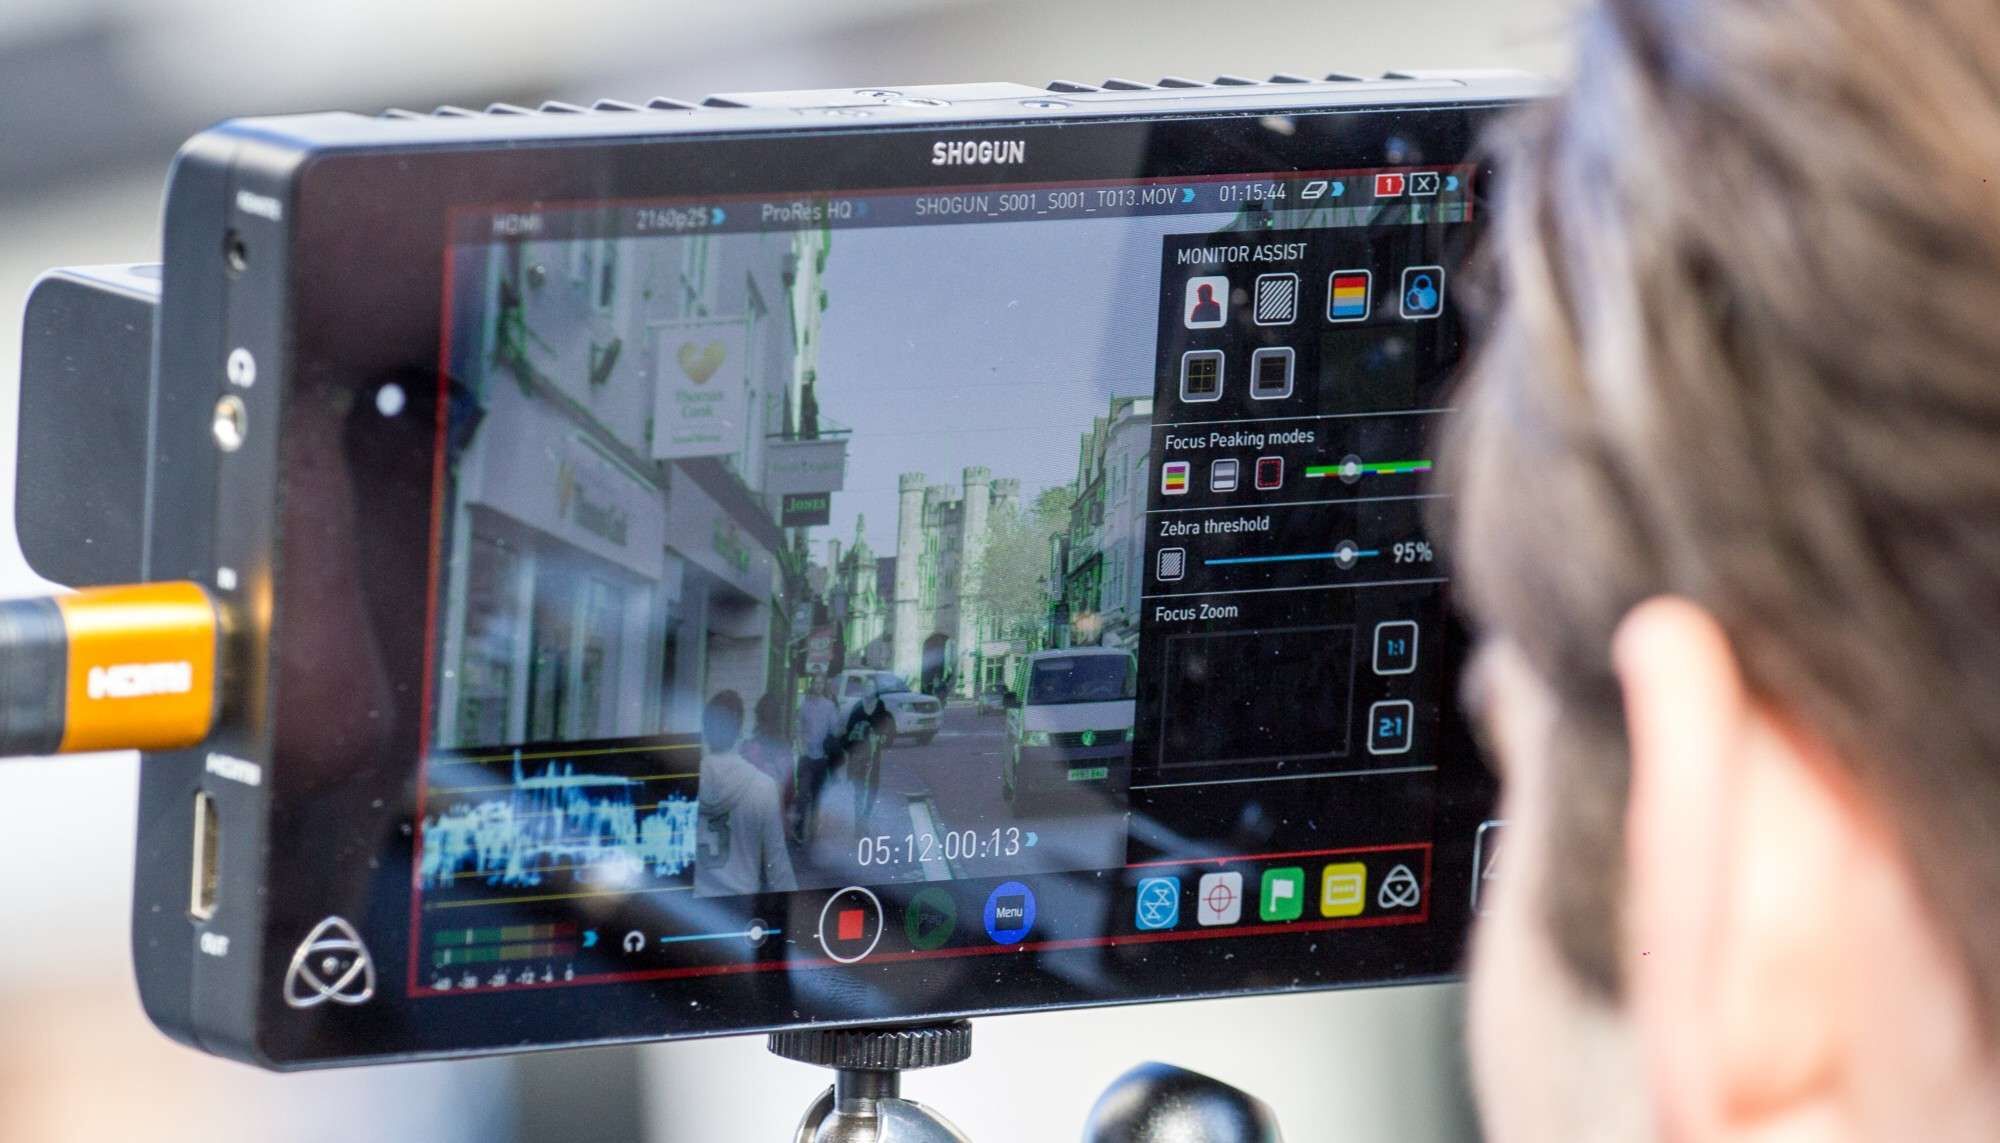
As if having a beautifully clear 320ppi IPS screen wasn’t enough of a focus aid in itself, the Shogun has 3 different types of focus peaking.
One turns everything greyscale, one turns everything ultimate black with only the in-focus areas in white, and one simply outlines the focused area in a colour of your choice.
If setting up for a sit-down interview, toggling the second option would be our choice as it is extremely clear, however in a run-and-gun situation, relying on the colour outline is a lot more pleasing on the eye.
You can also do a 2:1 crop to zoom into the area of the frame you are trying to focus on, which is awesome, providing you remember to turn it off again afterwards.
5. Battery Life
We soon noticed while testing the Shogun that the batteries supplied by Atomos are very small. What’s worse is that the charger is similarly small, only allowing for one battery to be charged at a time.
It also seems to have difficulty deciding if/when the batteries are fully charged.
We charged one for 7 hours with no indication of it being full, so unplugged it, reconnected it and voilà! The charger had decided that 7 hours was enough and gave us the green light.
I’m sure, should the charger supplied been more robust, the 8 batteries we had would have easily outlasted the 3 we had for the a7S.
If like us, you prefer batteries and chargers that are more reliable than a pensioner’s erection, you can use the same Sony batteries that work with the FS700 (NP-F970) which when combined with a decent charger will give you many, many hours of 4K fun.
The Shogun also comes supplied with an AC converter, allowing you to tap the good stuff straight from the mains and shoot until your heart’s content (Or your SSD’s full, whichever comes first.)
6. Audio
Whilst out shooting our test we weren’t really looking to record any actuality, so we don’t have any lovely stills of my quiffed head staring longingly at audio levels.
The shogun takes an audio signal into its HDMI from the a7S just fine, and its controls for monitoring the input levels are clear and easy to use.
You also have the option to plug XLR inputs into the recorder via the tails provided, which is useful if you want higher-quality audio.
For some reason, when recording the audio signal from the a7S, the Shogun plonks the audio onto channels 3&4 instead of 1&2, so be aware of this when importing the footage onto a Premiere Pro timeline.
Conclusions
As expected, the Shogun and a7S make perfect partners in crime, provided that you set up correctly and embrace the limitations of the technology.
Below are a list of our findings, for any lazy spoiler lovers out there:
- Connect your SSD BEFORE turning the Shogun on. We haven’t tried doing it the other way around, and we suggest you don’t either.
- Charge your batteries, all of them, check twice. Buy more if needed.
- Get a rig that’s sturdy and allows you to see the screen properly, don’t be cheap when it comes to buying a HDMI cable.
- If your workflow allows, shoot 4K, even when downscaling in post.
- Shoot in ProRes HQ. Never mention Avid ever again. Got it?
- Use the waveforms to get your exposure right.
- Use Focus peaking to get your focus right.
- Don’t stand too close to Swans. They don’t like it and will try to bite you.
