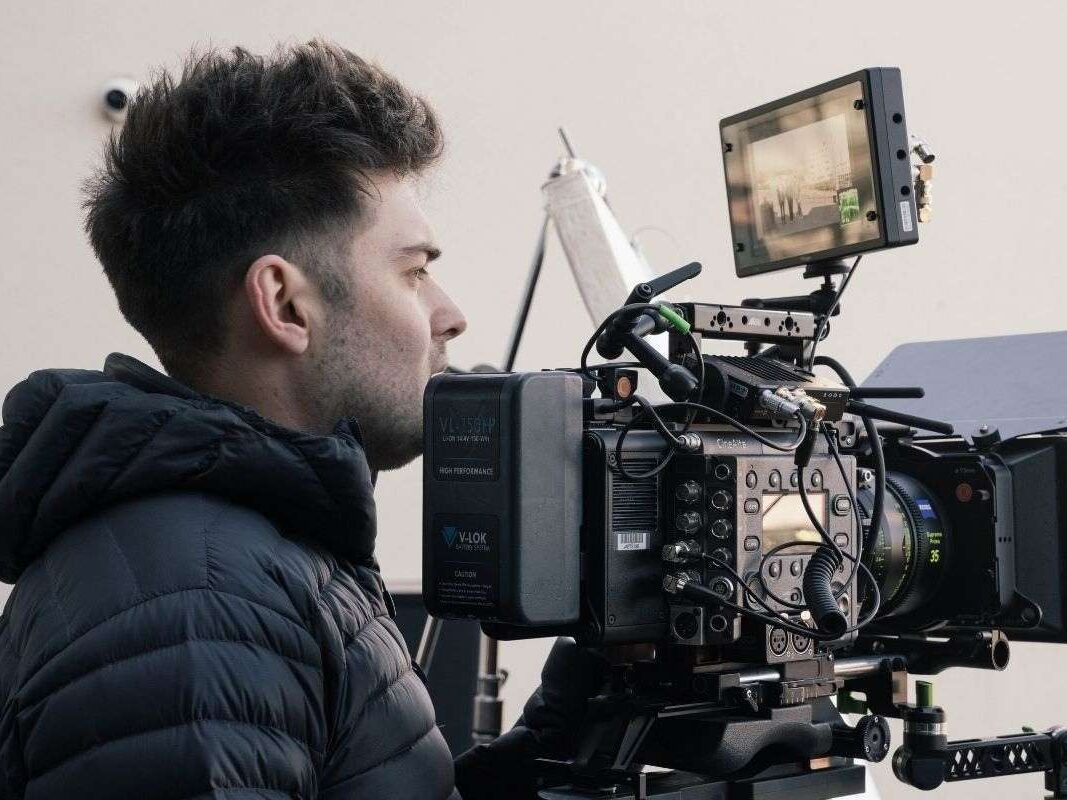
How To Shoot A Killer Product Video
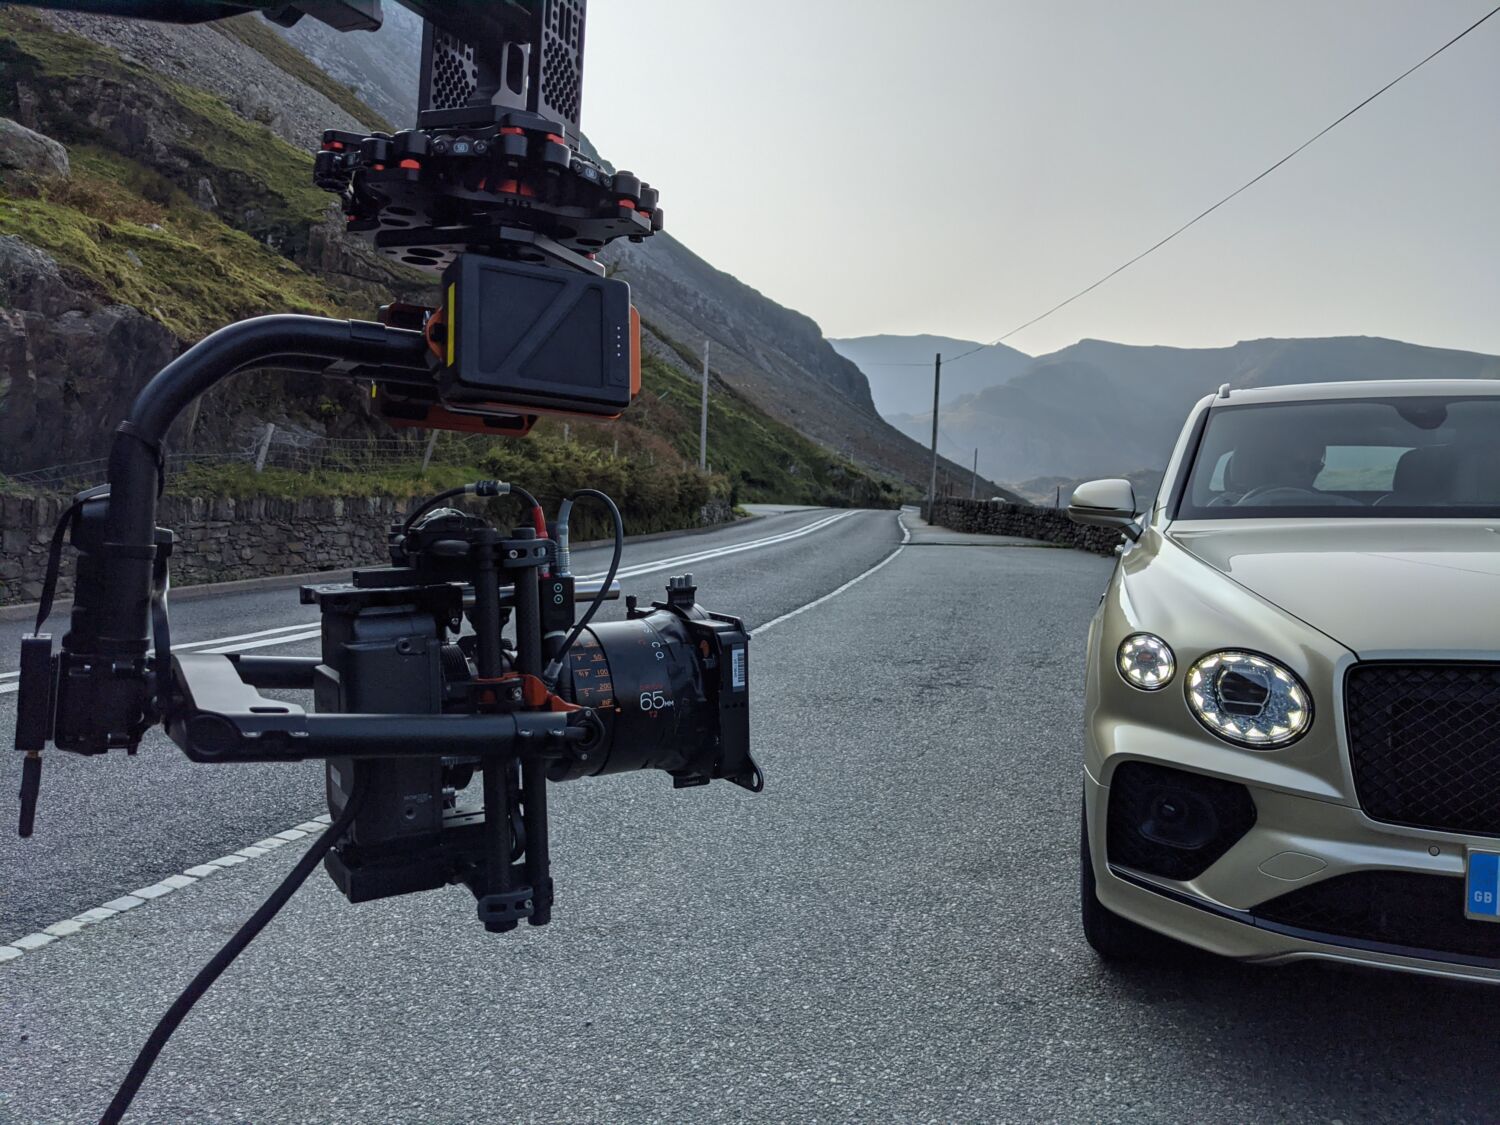
Product videos are one of the best ways to highlight what makes a product unique. Unlike photos, videos actually show a product in action, helping potential customers understand why they absolutely need it in their lives.
High-res visuals and engaging content can hook viewers from the get-go. Fun fact: 91% of people watch product videos before buying something online, and 69% say demo videos help them decide on a purchase. So yeah, if you’re selling something, product videos are definitely a must-have!
If you’re wondering how to shoot a product video that captivates and converts, stick around.
We’re diving into what makes a good product video - from planning your shots to picking the right gear - to make sure your clip leaves a lasting impression.
1. Define Your Goals
Before you even think about picking up that camera, take a breather and think about what you want your video to achieve. Are you highlighting specific features, capturing a general vibe, or showing how your product fits into everyday life?
And don’t forget about your audience! What are they looking for, and what questions do they have about your product? Understanding your goals and your viewers will help keep your shoot focused and make sure your video hits home.
To keep things organised and help your messaging come through, whip up a brief script or storyboard outlining your video’s key moments. No need for a Shakespearean masterpiece - just jot down the main points, shots, and transitions you want to cover.
Planning is your best friend! It’ll make your shoot smoother and help create a video that resonates. Plus, you’ll feel more relaxed on set, knowing you have a game plan!
2. Finding The Right Spot
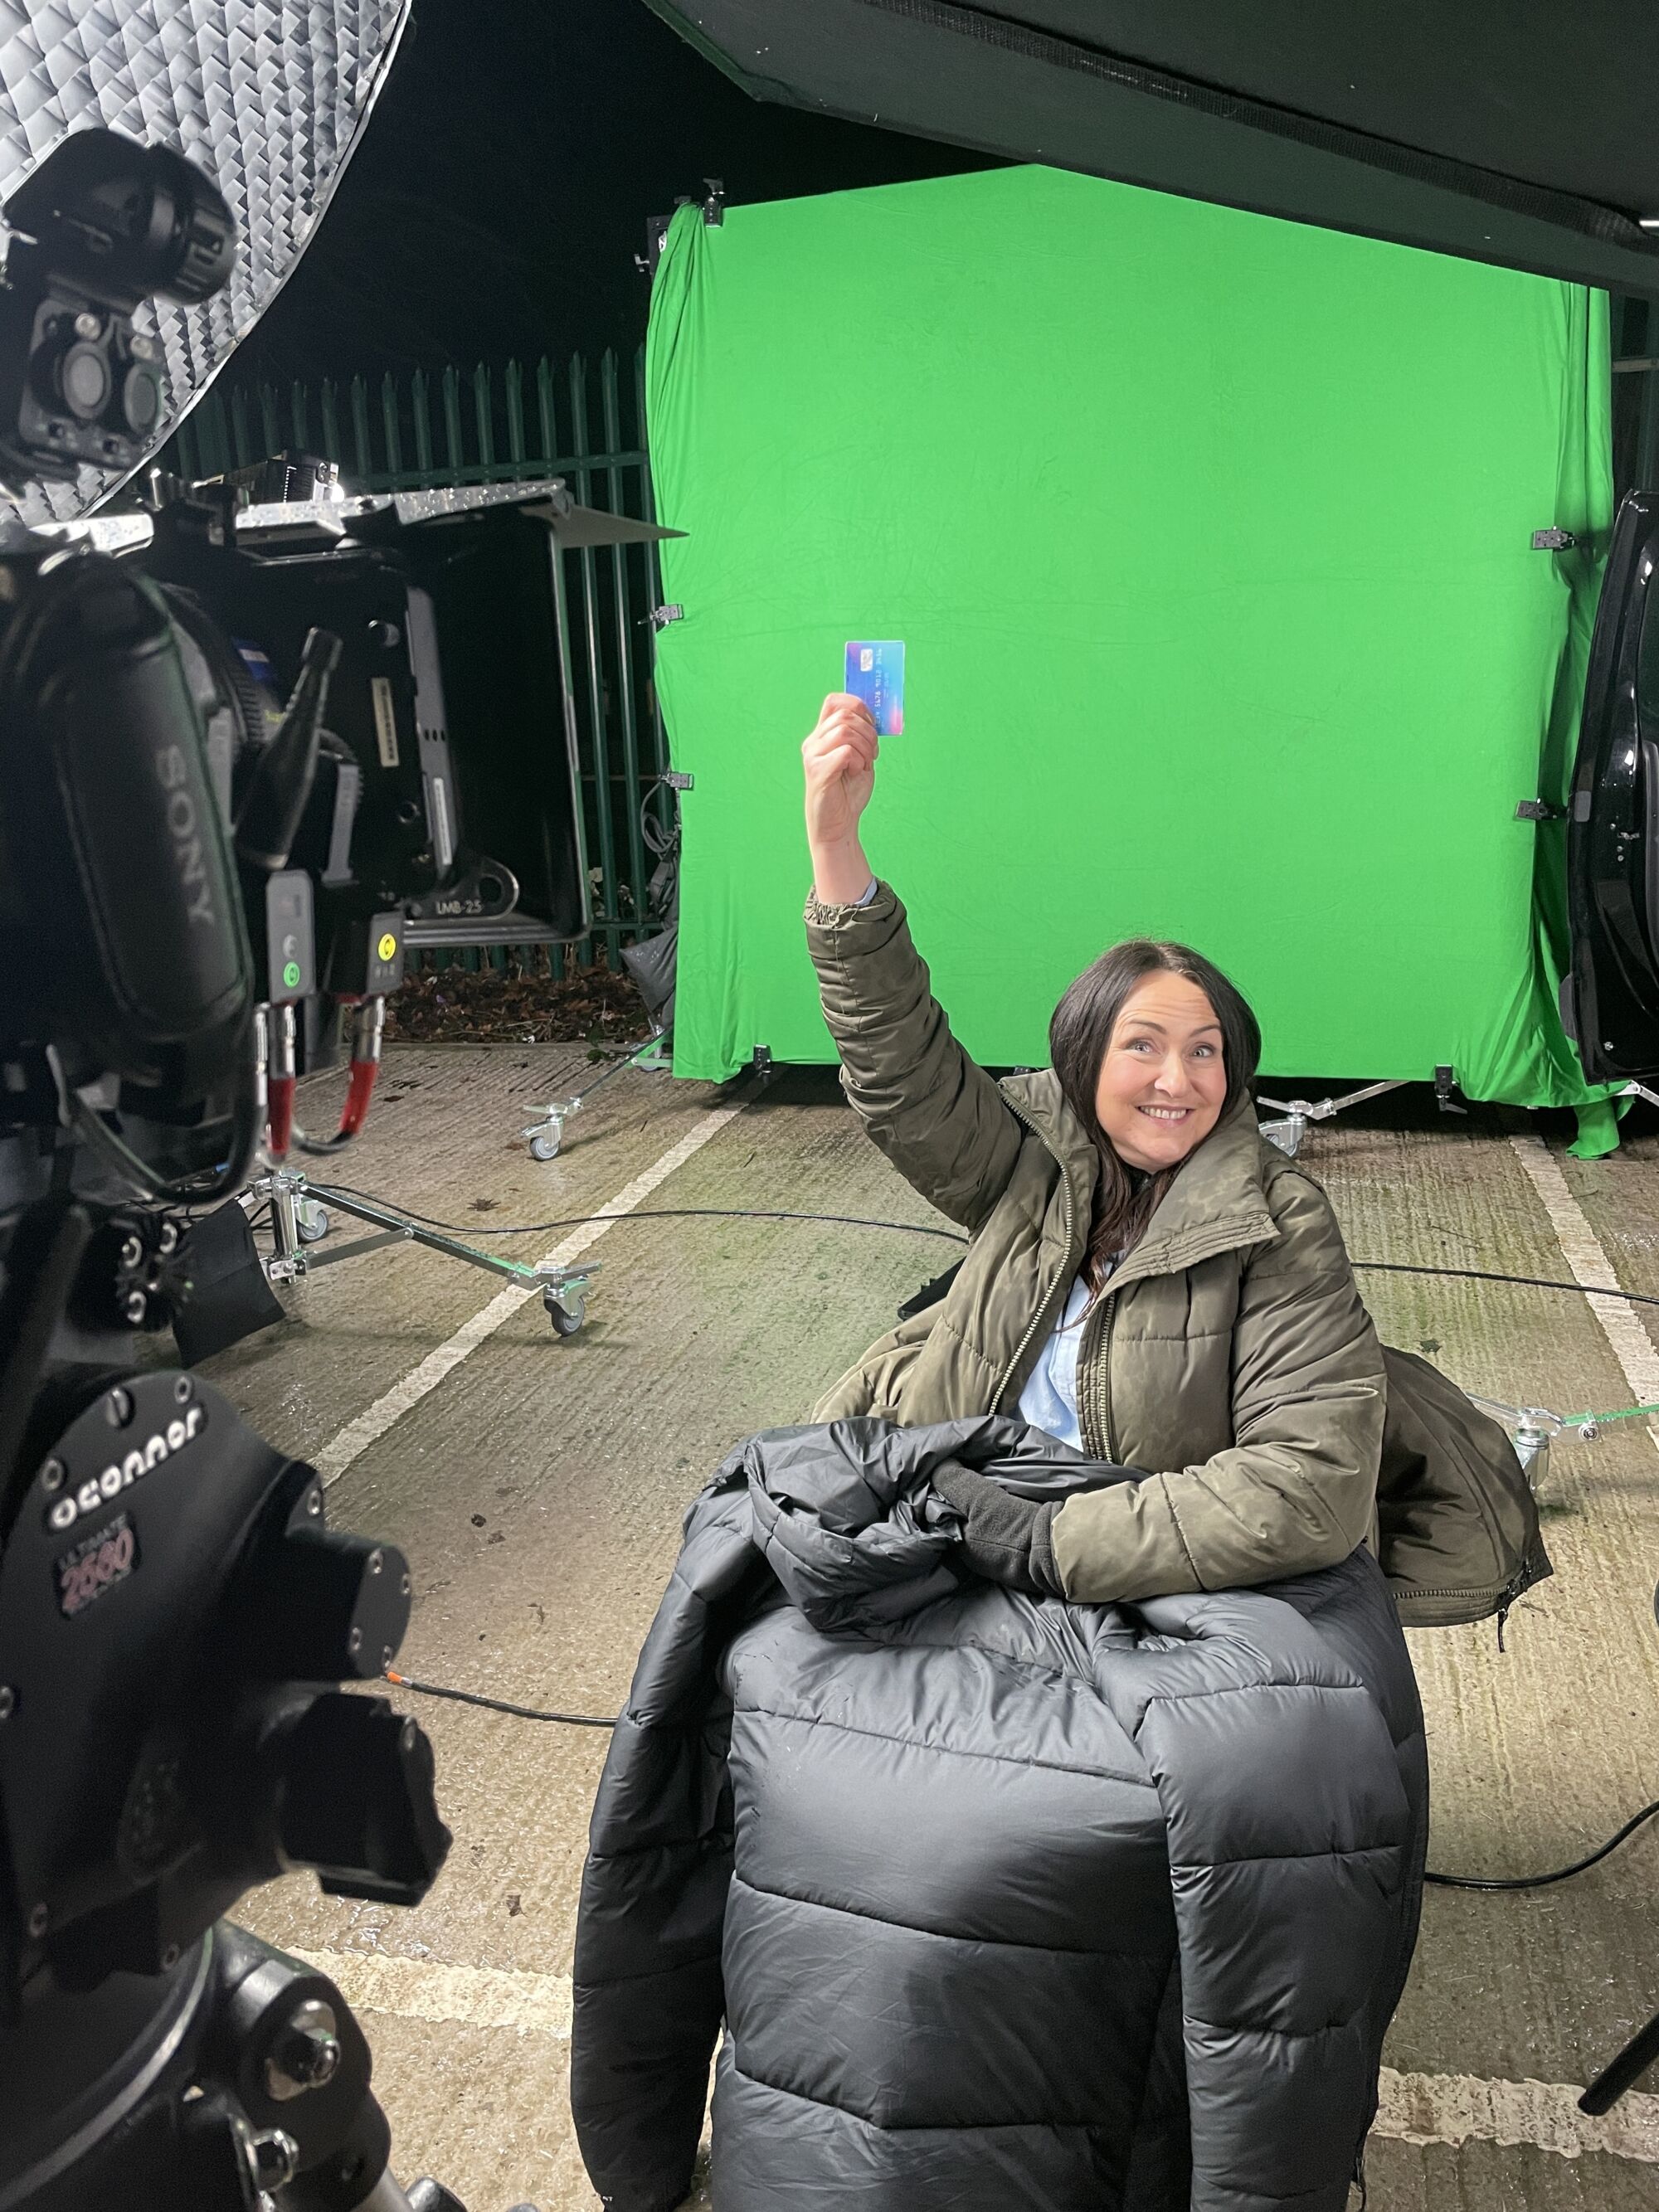
Now for the fun part: where to showcase your product. Are you going for a real-world setting or a polished studio backdrop?
Pro tip: a studio doesn’t have to be a Hollywood film set. It can be as simple as a coloured paper backdrop where you can control the lighting. This can give you a professional feel without the heavy lifting.
But, if you’d prefer a real-world feel, be realistic about your options. Shooting in a bustling outdoor cafe might seem dreamy, but unpredictable lighting and noisy customers can turn things into a total circus.
Think about how well you can control your environment. The more control you have, the easier it is to shoot, which leads to better results.
A solid middle ground? Go with an indoor setup that still has some personality in the background. Picture: a home office desk where your product stands out, with plants, books, or little decor pieces softly blurred behind it.
This way, the product is the focus, but you get a hint of real-life vibes in the background for a more inviting look.
3. Nail The Visuals
A few simple tweaks in framing and visuals can take your product video to the next level. First up, get to know your product’s best angles. Like a model in a photo shoot, all products have a sweet spot where they look their best on camera. Your product’s the star here, so take the time to find those angles that really show it off.
Some key composition techniques include:
Negative Space: A minimalistic approach that keeps viewers' eyes on the product, instead of clutter in the background.
Close-ups and Cut-Ins: Highlights tiny details that make your product special, creating an intimate feel.
Rule of Thirds: A classic approach which places a product on imaginary grid lines, for a balanced, pleasing-to-the-eye composition.
Now, let’s talk props. When making videos, you’re essentially creating new worlds -real or imaginary. Consider the ‘world’ you want your product to live in. What kind of setting makes sense? What props can help bring that vision to life?
You don’t need a feature film setup - just a few well-chosen items that fit the vibe and enhance your product’s look. The goal is to create the right atmosphere, without stealing the spotlight from the main attraction. A little creativity can go a long way in making your video feel polished!
4. Light It Up!
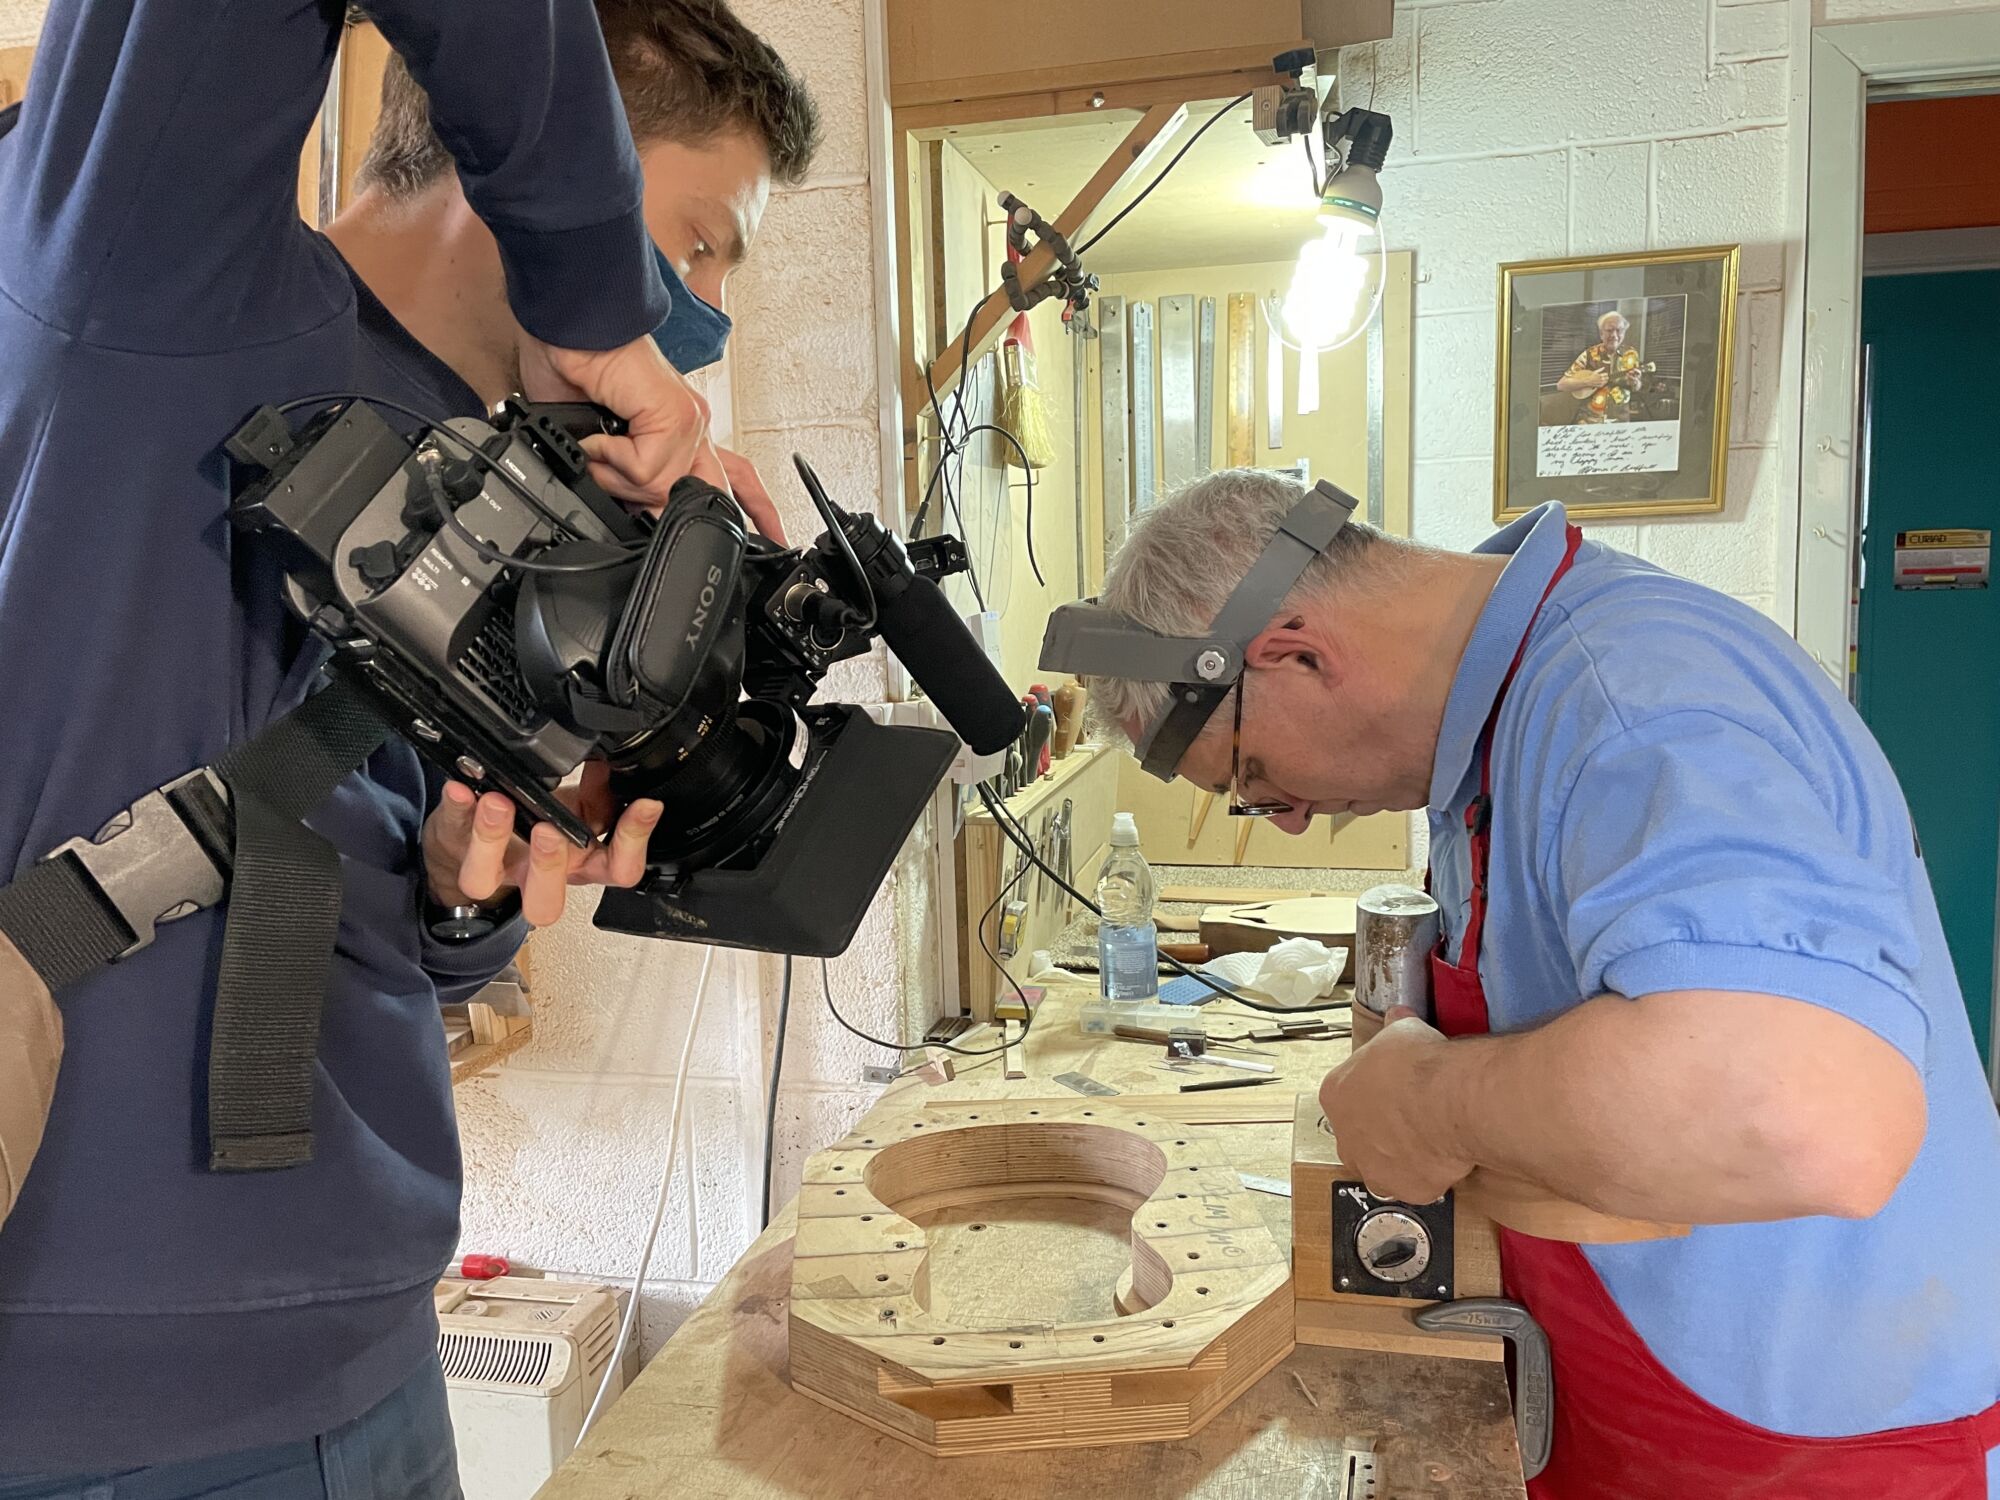
Okay, let’s talk lighting, because honestly, it can make or break your product video.
Take a skincare cream, for example. If you open the jar and blast a light straight onto the cream, you’ll wash out all those lovely details and textures. Instead, a soft side light will highlight the creamy goodness and give it that dewy luxurious look.
Now, when it comes to lighting setups, you’ll probably find yourself going for a classic four-point lighting setup. Here’s what you’ll need:
Key Light: Your main source of light.
Fill Light: There to soften the shadows and even everything out - think of it as your helpful backup singer.
Background Light: Adds some pop to the backdrop, giving your shot a little extra flair.
Backlight: Highlights the edges of your product so it stands out.
But hey, there’s no one-size-fits-all rule here. Experiment to see what works best for your product and its vibe. Play around with lighting on various materials and finishes, and don’t be afraid to get creative - you might discover something new!
5. Get Moving
Sure, static shots are okay, but who wants to watch a video that feels stuck in one spot?
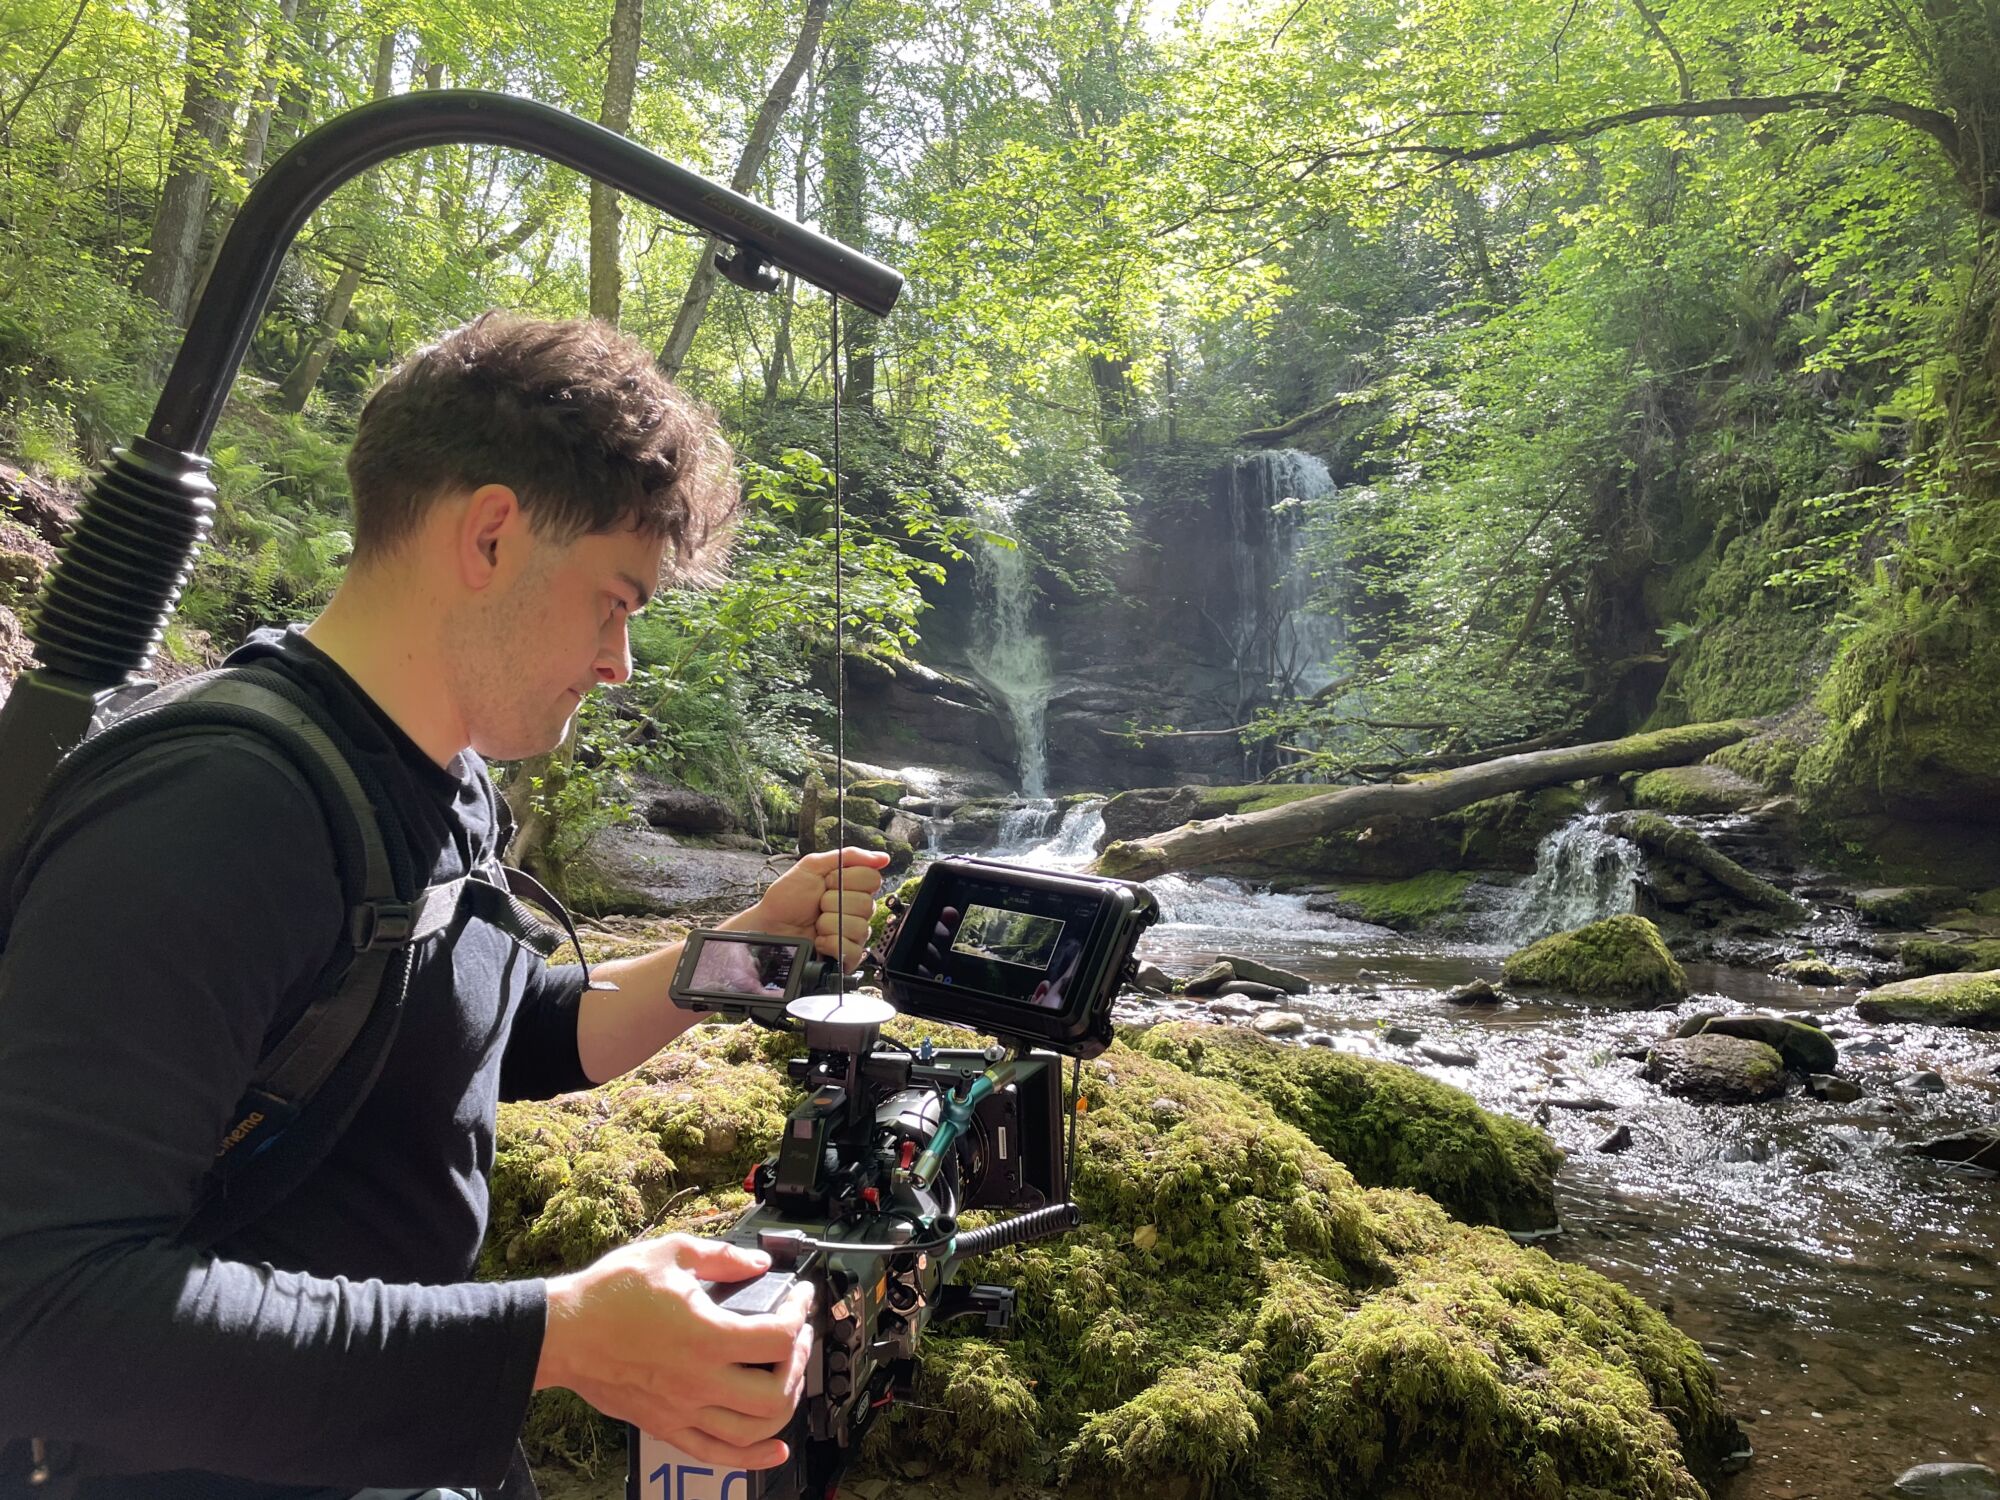
Subtle, smooth camera movements give a scene depth and add to the overall viewing experience. You can do this with tools like a gimbal, slider, or even a careful handheld approach if you want that ‘casually filmed on my phone’ feel.
Some basic camera movements to consider include:
Zoom: A movement we’re all familiar with, zoom gets up close and personal with your product. Just keep it smooth and subtle, or your viewers might feel like they’re on a roller coaster.
360* Rotation: Let your viewers see your product from all angles, highlighting details like they’re inspecting it in person.
Dolly Shots: Moves the camera forward or backwards to play with perspective. This can build anticipation as you introduce your product.
6. Spruce It Up In Post!
Lastly, let’s talk post-production - where the magic really happens!
Editing is the backbone of your video. It’s about sifting through your footage and piecing it together to tell a compelling story about your product. Nail the editing, and you’ll take your video from ‘meh’ to ‘WOW, I need this product!’
Here are some must-haves to make your product video shine in post:
Colour Grading: Your chance to play with colours that set the tone. Want something cheerful and bright? Warm it up! A spooky, dark feel? Desaturated tones!
Sound Design: Don’t underestimate the power of audio! Spice things up with sound effects and catchy music. Well-timed sound effects can make simple scenes unforgettable.
Visual Effects: Whether it’s brand colours or bold graphics, a dash of CGI can take your video from basic to professional.
Delivery: It’s time to export! Always send your clip in the right format for where it’s going. TV spots look best in widescreen, while social media clips should be portrait or square, depending on the platform. No one wants to watch a stretched-out video that looks like it was made in the 90’s.
These tips on how to shoot a product video will help you create a killer clip that engages your audience and stands out in a crowded marketplace.
But hey, if you’re still feeling stuck, don’t sweat it. At STORM+SHELTER, we don’t just shoot cool videos; we help you come up with the ideas behind them, too.
Whether you have a detailed brief or just a glimmer of a concept, we’ll turn it into content that stops thumbs, tugs hearts, and leaves a lasting impression.
Got an idea, or even just a feeling you want to explore? Let’s chat.
Happy shooting!
